“The Front That Was” Headhunting Information
- The listed 6★ Operators will be the only units available for their respective rarity
- The listed 5★ and 4★ Operators will appear at a higher rate
- Operator Feature Banners do not add Operators to the Distinction shop
Featured Operators:
| Rarity | Operator |
|---|---|
| 6★ | |
| 5★ | |
| 4★ |


Duration: April 18, 2023, 10:00(UTC-7) - May 2, 2023, 03:59(UTC-7)
Special Pool: The only 6★ Operators available are those listed in Rate-Up.
★★★★★★:
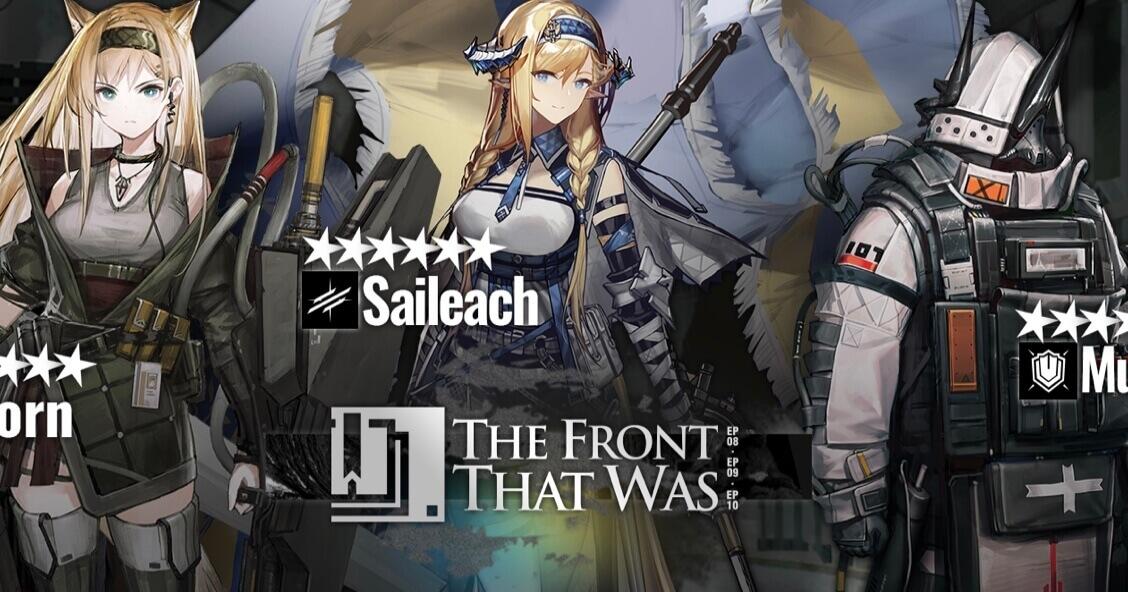
Mudrock / Horn / Saileach
(Accounts for 100% of the odds when pulling a 6★)
Special Pool: The following 5★ Operators will appear at a higher rate (60% chance if pulling a 5★.)
★★★★★:
Whisperain / Mulberry / Rockrock
Special Pool: The following 4★ Operators will appear at a higher rate (45% chance if pulling a 4★.)
★★★★★:
Jackie / Roberta / Chestnut
Should You Pull?
- Do you already own Horn, Saileach, and Mudrock? Then NO.
- Do you own two of the three? Then NO.
- Do you own one of the three? Then MAYBE.
- If you don’t own any of the three, then YES.
Think of this banner like a modified “Joint Operation” banner: it’s easy to pull the units on the banner, but it’s hard to pull a specific unit. Horn, Saileach, and Mudrock are outstanding Operators, so if you don’t own any of them, it’s well worth pulling.
If you own even one of these units, however, the appeal drops sharply. There are multiple limited banners on their way, several with very powerful units attached. It’s very easy to think, “I’ll just pull until I get the unit I want off this banner,” and end up spending all of your Orundum by mistake. Saving for the upcoming limited banners is probably a better idea.
Like with normal banners, a 5★ or higher Operator is guaranteed in the first 10 rolls. Should you pull for that? No. Whisperain and Mulberry are terrific Medics, but they have free alternatives (welfare Lumen and red-certificate-purchased Honeyberry), and while Rockrock is strong, she has huge drawbacks. The 4★ units are definitely not worth spending Orundum on (even if you really like them), since they are much easier to get off non-rate-up banners.
Quick Overview: 6★ Operators

+ Has very high base HP and ATK
+ Talent generates “shield charges” over time; each shield automatically negates one instance of damage and heals Mudrock for a percentage of her max HP when triggered
+ S2 does AoE damage to ground enemies around Mudrock, may Stun targets, and recovers a percentage of Mudrock’s max HP
+ S3 makes Mudrock temporarily invulnerable and Slows all nearby enemies; after a delay, it Stuns nearby ground enemies and increases Mudrock’s ATK/ DEF/ number of enemies attacked for the rest of the Skill’s duration
= Has somewhat low base DEF for a Defender, but this is completely outweighed by the shields from her Talent and the invulnerability/ DEF boost from S3
- Usual archetype weaknesses: High DP cost, cannot be directly healed by allies (although regen does work)
- Shield charges are used automatically, so they may trigger to block scratch damage and not be around when you need them
- S2 has [Getting Hit] SP charge type, potentially negating the healing effect, and is not a reliable source of Stun
- The way that S3’s effects occur in two different stages can make it difficult to time correctly

+ Usual archetype strength: Very high rate of DP generation with S1
+ E1 Talent buffs ally ASPD and debuffs enemy ASPD around her flag’s location
+ E2 Talent reduces the DP cost of the next Operator to be deployed after Saileach by 2 DP
+ S1 has the capacity for enormous DP generation
+ S2 moves her flag (and her E1 Talent aura) to an ally, also granting that ally bonus DEF and healing over time
+ S3 moves her flag (and her E1 Talent aura) to an enemy, dealing Physical damage and Stunning in an area; it also causes valuable Slow and Fragile effects around the flag for the duration and has a short cycle time
= Usual archetype Trait: Can’t Block while her Skills are active
= S2/S3 still generate DP, but less than S1; if you want to use her most powerful buffs/ debuffs, you must give up some DP gain
- Usual archetype weakness: Stops attacking while Skills are active, lower combat stats
- Her S1 requires more SP than Myrtle’s S1, so it takes her longer to start generating DP (important on some maps with very fast starts)
- Similarly, her S1 is identical to Elysium’s S1, but her DP cost is slightly higher, so she can actually be less efficient for DP generation than he is (made worse by how much rarer she is and therefore how she’s likely to have fewer Potential increases)
- S3 DP generation is rather poor compared to other Standard Bearer Skills

+ Usual archetype strengths: A ground-deployed unit with long-range AoE Physical attacks; gains Block-3 at E1
+ E1 Talent increases the ATK of all allied Defenders (great with “combat Defenders” like Mudrock or Blemishine)
+ E2 Talent saves Horn from death once per deployment, bringing her back with reduced max HP but increased ASPD and DEF
+ S1 is very consistent damage and removes Invisible from enemies when attacking at range
+ S2 runs on Ammo and, once in Overdrive, can be manually triggered to fire all remaining ammo in one huge burst
+ S3 has terrific damage output… then it goes into Overdrive and kicks the damage output up to a whole new level with even-more-increased ATK and ASPD
= S2 and S3 both deal damage to Horn; this obviously decreases her durability, but it also allows her to “pop” her E2 Talent and get the ASPD boost early if desired
- Usual archetype weaknesses: Stops performing ranged AoE attacks while Blocking enemies (she just punches her Blocked target like a Normal Defender instead)
- Overdrive mechanic on S2 and S3 can be easy to mishandle
Quick Overview: 5★ Operators

+ Archetype strengths: Larger healing range than other Medic archetypes
+ Talent regenerates HP for allies within Whisperain’s attack range who have the Status Resistance buff
+ S1 is an automatic Skill that grants a stronger heal and the Status Resistance buff to an extra target within range (triggering her Talent for extra regeneration)
+ S2 is a permanent buff that increases Whisperain’s healing speed, increases the regeneration from her Talent, and causes every heal she dispenses to grant Status Resistance (so every time she heals, she’ll trigger her Talent)
= Very useful on stages where enemies are causing Cold, Freeze, or Stun because of her Status Resistance buff, but less appealing outside of this niche
= A lot of her healing potential is tied into the “healing over time” from her Talent; without it, her direct healing is not very strong
- Usual archetype weaknesses: Lower base ATK than ST Medics, healing is reduced on far-away targets
- S2 takes a long time to charge
- 6★ Therapist Medic Lumen is a welfare unit (therefore widely available) and has better healing than Whisperain, as well as direct status-cleansing potential that she lacks

+ Usual archetype strengths: Not only heals HP but also removes Elemental Damage that allies have suffered; larger healing range than most Medic archetypes
+ Talent increases ATK of all Medic Operators when Mulberry and at least one other Medic are on the field
+ S1 charges very quickly, holds multiple charges, and greatly increases the amount of HP and Elemental Damage restored by her next heal, resulting in surprisingly high HPS
+ S2 greatly increases Mulberry’s rate of healing, changes her targeting priority to “ally with the highest Elemental Damage,” and causes all allies in Mulberry’s range to take less Elemental Damage for the duration
- Usual archetype weaknesses: Very low ATK (comparable to AoE Medics), so her HP healing is very limited
- The comparable Wandering Medic Honeyberry is currently available in the Red Certificate store
- All her utility is related to Elemental Damage, so she loses a lot of value on maps without this mechanic

+ Talent gives Rockrock a stacking ATK buff over time
+ S2 gives very impressive damage output once it goes into Overdrive
- No utility whatsoever
- S2 is just a vanilla ASPD buff before it goes into Overdrive
- Once the duration is over, S2 inflicts a self-Stun on Rockrock for a duration equal to the amount of time she was in Overdrive (up to 20 seconds!)
Quick Overview: 4★ Operators

+ Usual archetype strengths: Low DP cost, fast ASPD
+ Talent gives her passive Physical Dodge and increases her ASPD temporarily after she dodges an attack
+ S2 massively increases her Physical Dodge and causes her to counterattack every time she dodges (although she stops attacking normally for the duration)
- Usual archetype weaknesses: Low HP and ATK, has a hard time damaging high-DEF enemies
- Has no protection from Arts damage
- Even at max investment, her Physical Dodge is unreliable due to the way multiple sources of Dodge buffs stack

+ A ground-deployed Supporter who deals Physical damage and has Block-2 (potentially useful for Challenge/ CC maps; can be helpful in SSS mode)
+ Can deploy Stylers to temporarily buff one melee ally’s DEF and give them layer(s) of Shield that negate incoming attacks
+ Granting Shields to any melee unit you desire is very powerful (especially combined with units who naturally gain shields, like Mudrock) and is one of the few ways to stand toe-to-toe with bosses that would otherwise one-shot your units
= S2 prevents Roberta from attacking for the duration, but greatly increases her DEF, gives her Block Count +1, and restores one Styler to her inventory when the Skill ends
- Low ATK
- Cannot recover Stylers unless using S2
- The buffs she gives allies are purely defensive, but defensive playstyles are not terribly common in Arknights at this point in time

+ Usual archetype strengths: Not only heals HP but also removes Elemental Damage that allies have suffered; larger healing range than most Medic archetypes
+ Heals more Elemental Damage to ground Operators (Talent)
+ S1 instantly heals one target within range and holds charges, so you can “double up” his heals when an Operator needs it
+ S2 reduces his healing range, but increases his healing (both HP and Elemental) when repeatedly targeting the same unit, which can keep a single ally alive through repeated Elemental Damage infliction
- Usual archetype weaknesses: Very low ATK (comparable to AoE Medics), so his HP healing is comparatively limited
- All of his utility is related to Elemental Damage, so he loses a lot of value on maps without this mechanic
- Skills have high SP costs and S2 has unimpressive uptime
- S1 requires a lot of micromanagement and S2 requires good positioning due to the range reduction
- Honeyberry is available in the Red Certificate store and is much better than him in pretty much every way
Mudrock (6★)
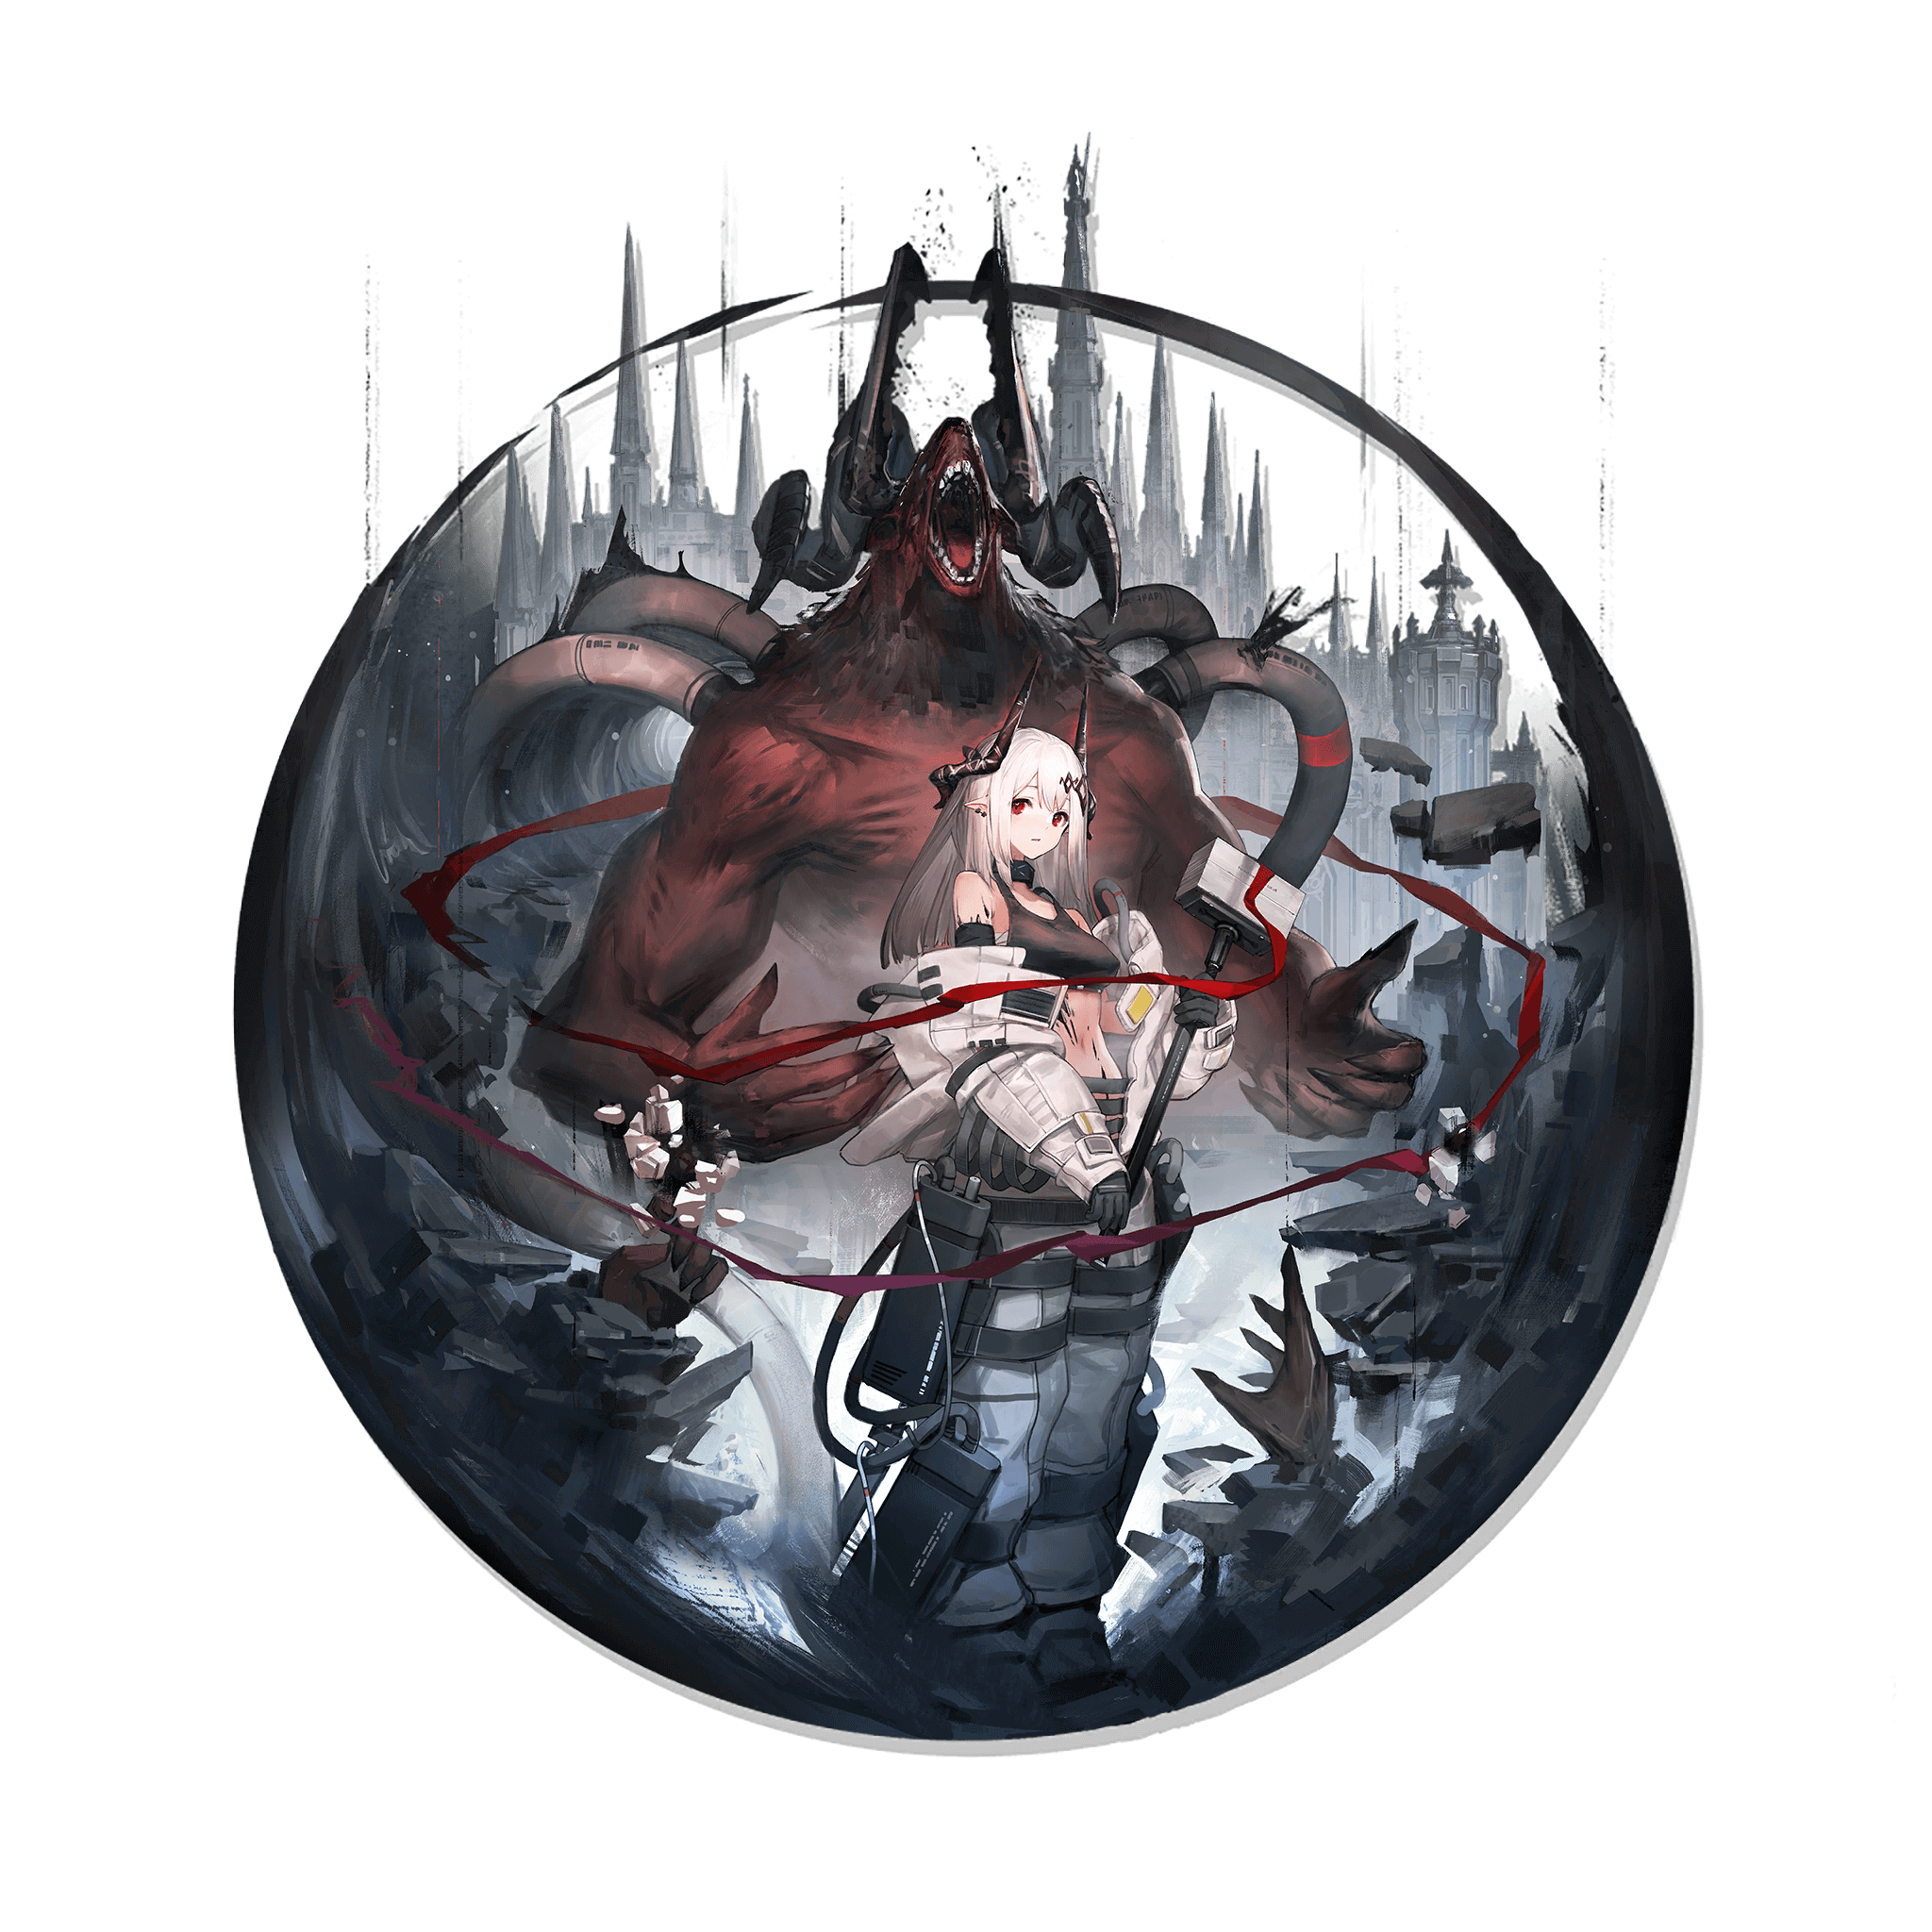
Mudrock (6★) was the big boss of the “Twilight of Wolumonde” event, where she was a colossal obstacle for unprepared players. Now Doctors can take revenge by leveraging Mudrock’s considerable power for themselves! As an Enmity Defender, Mudrock refuses to be directly healed by Rhodes Island’s Operators, relying instead on the regenerating shields of her Talent and outright invincibility from her S3 to soak damage and survive. And the longer she survives, the less likely it is that her enemies will do the same: Mudrock’s mighty hammerswings can crush any opponent into gravel.
The power of a Defender who can deflect just about any attack cannot be overstated. Yes, Mudrock is difficult to heal and her S3’s timing is tricky. Her shields alone would still make her worthwhile, to say nothing of her enormous self-sustain and terrifying damage potential. Mudrock is every bit the unstoppable juggernaut that a former boss should be. (Just don’t take her to stages with poison mist.)
I recommend pulling for Mudrock.
Saileach (6★)
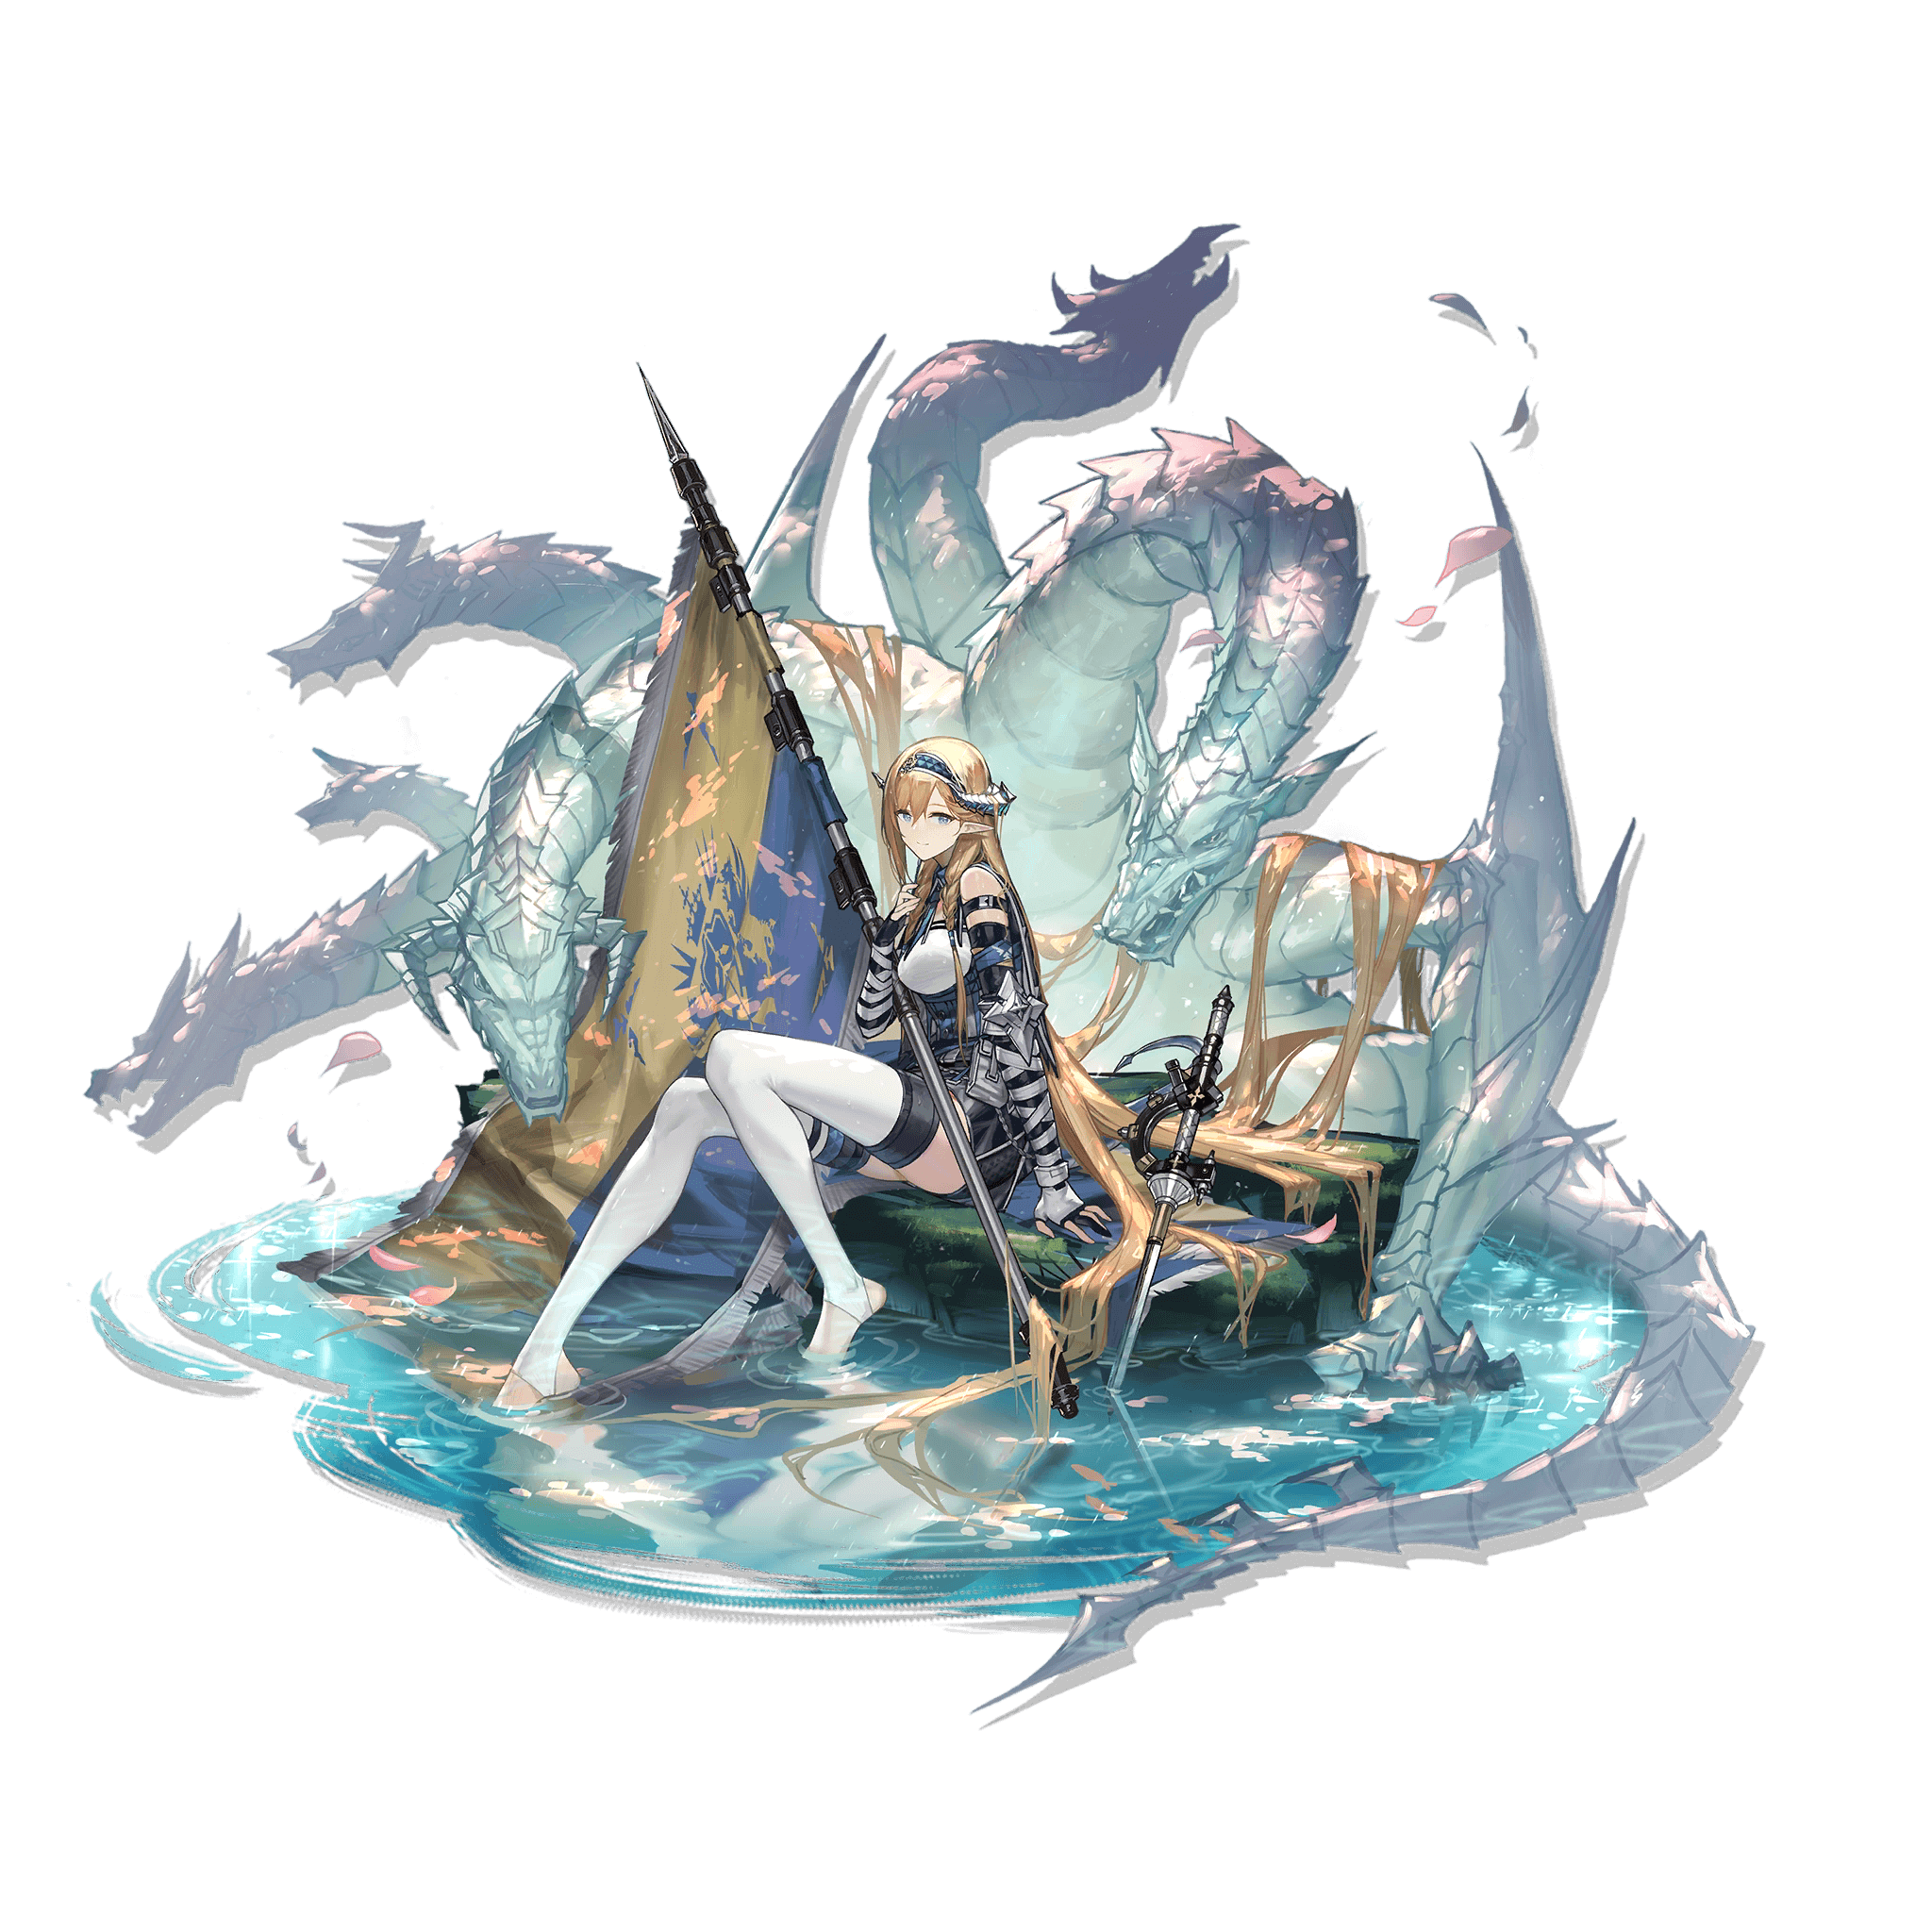
Saileach (6★) might as well be two different characters, depending on whether you’re playing casually or for challenges. For casual players, she’s basically a more expensive Myrtle/ Elysium, able to generate about the same amount of DP for a higher initial cost. She brings several buffs and debuffs to the field, but their effects are small and outclassed by better buffers/ debuffers that are more dedicated to the task.
For challenge players, Saileach takes off like a rocket. When DP generation is limited and you need multiple Standard Bearers to get running, Saileach is ready to help. When deployment spots are limited, Saileach combines critical survival buffs or Fragile debuffs with DP generation, filling multiple important roles with one slot. Manipulation of her banner’s aura of ASPD manipulation can be the difference between life and death. The list goes on.
I recommend pulling for Saileach.
Horn (6★)
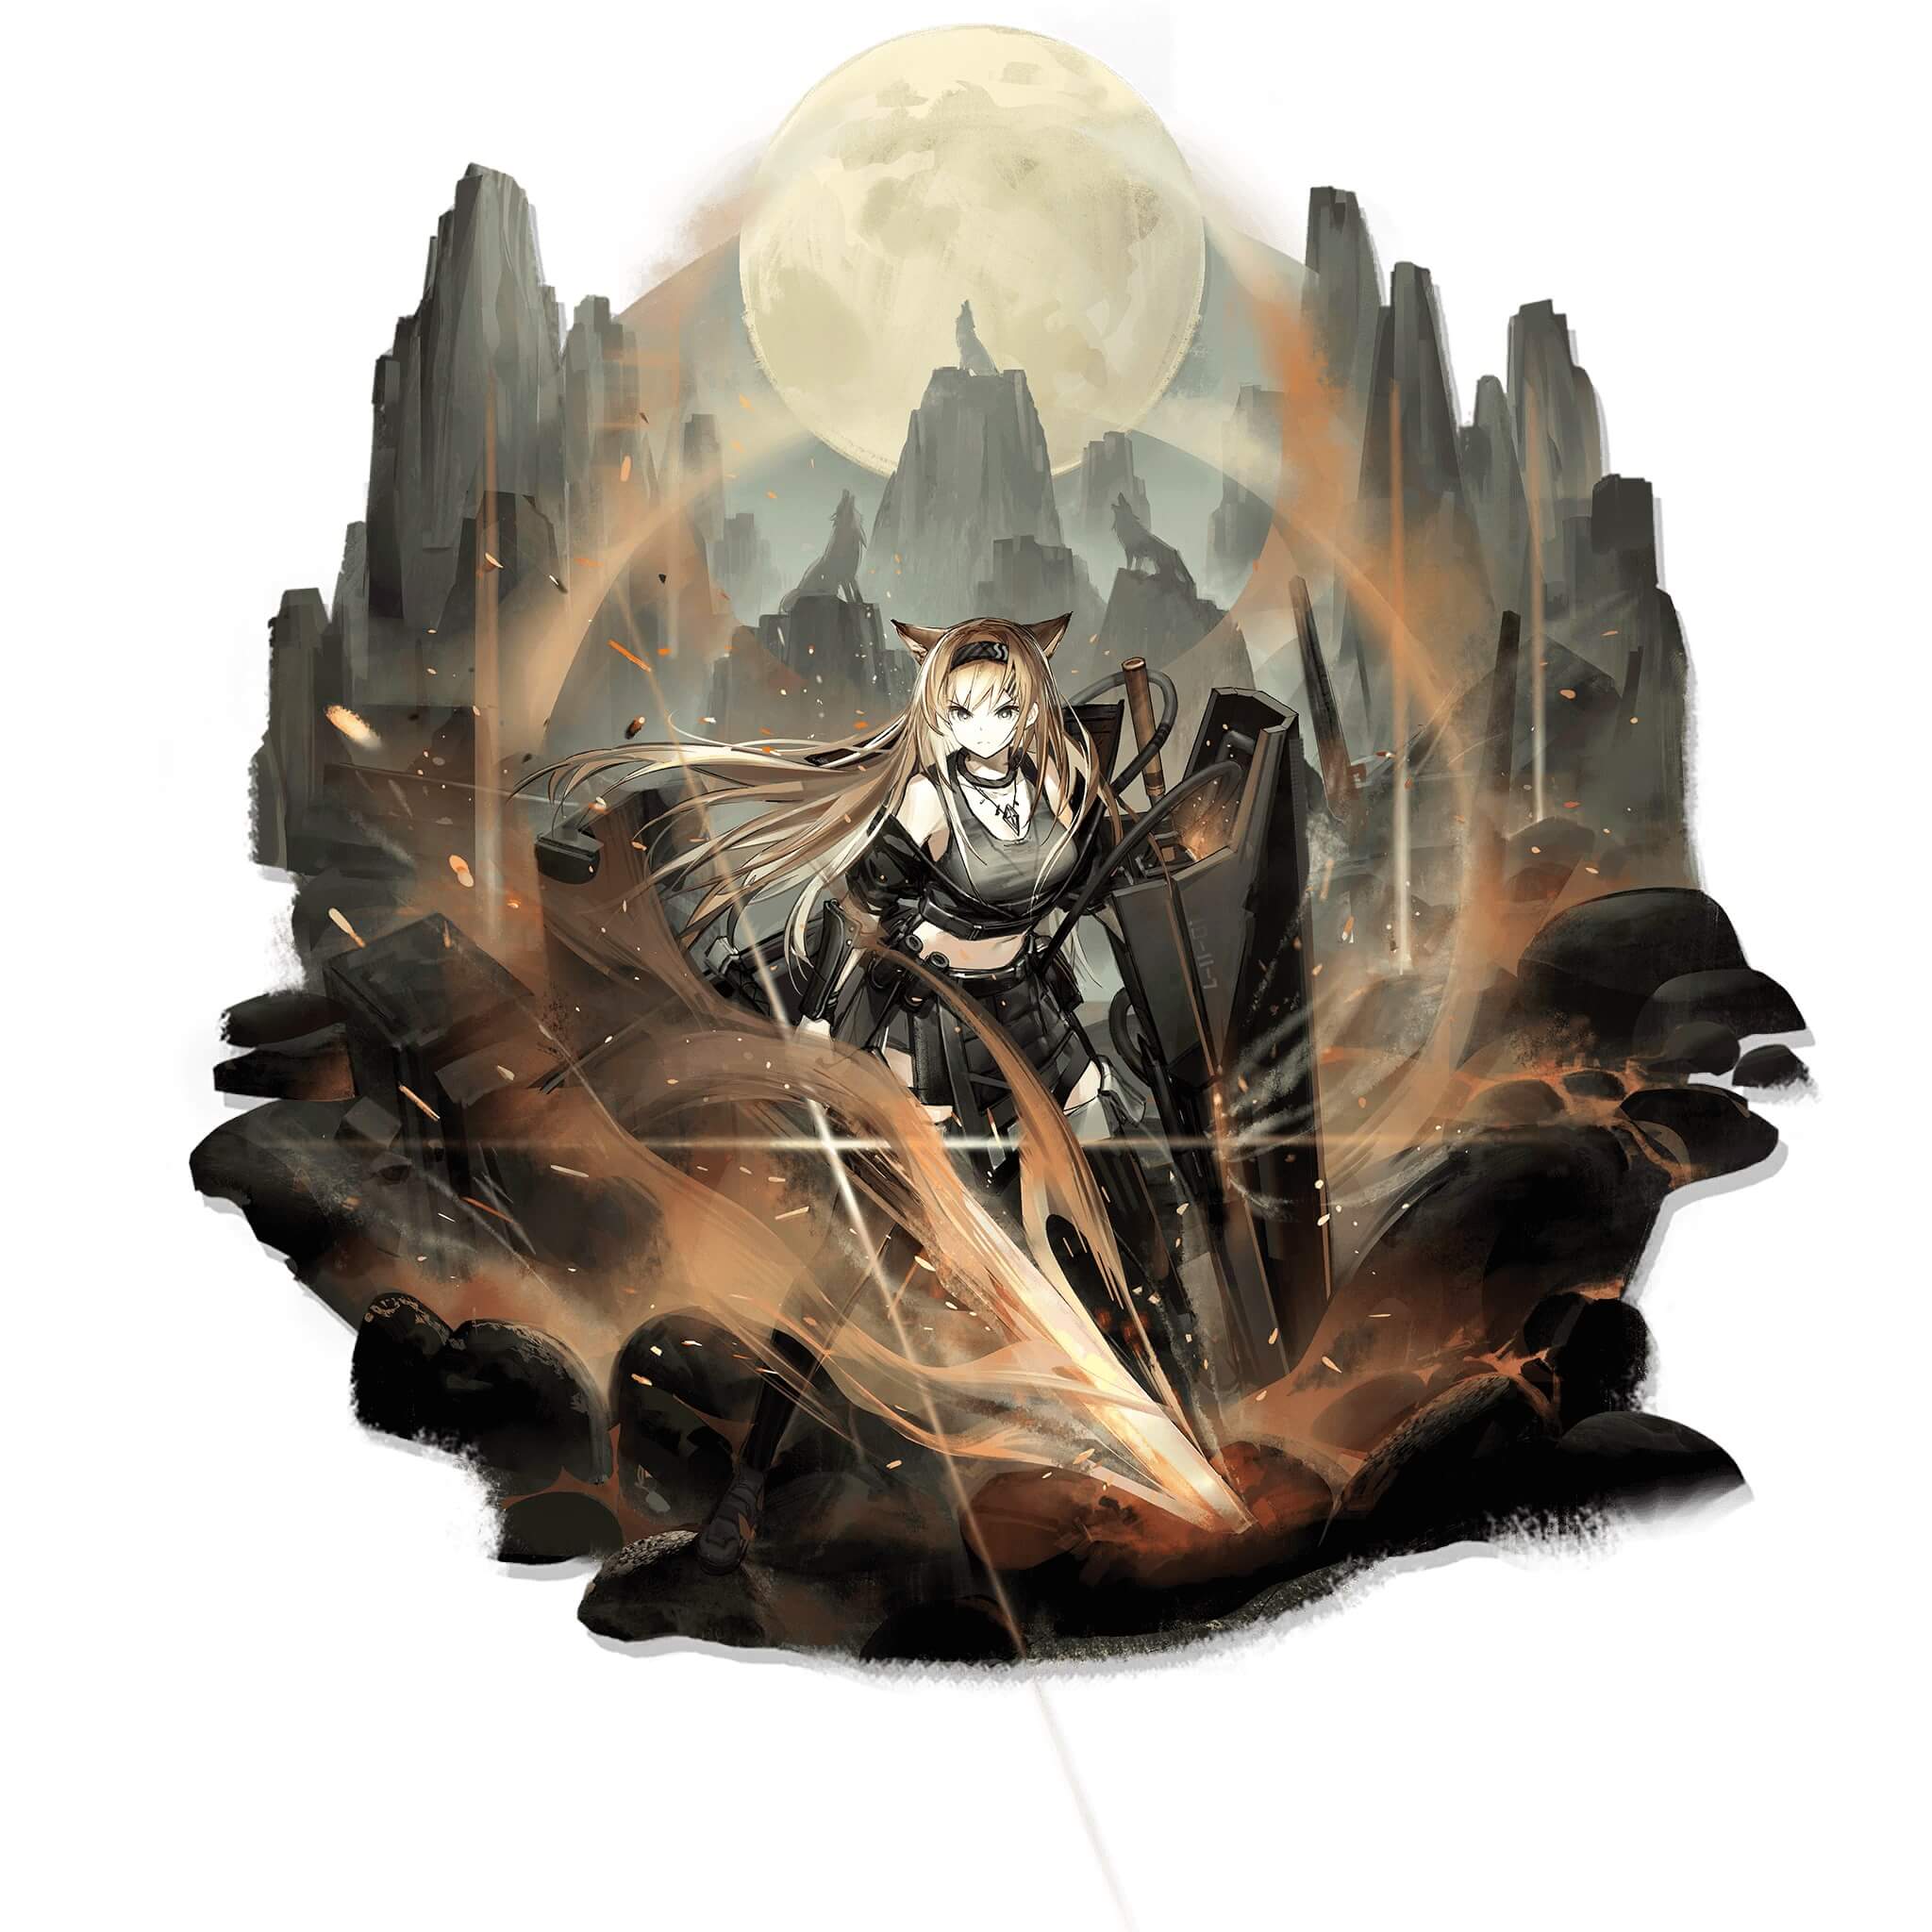
Horn (6★) first came to our attention in Chapter 9 of Arknights, where she got embroiled in a tense standoff between Operators like Bagpipe and Saileach and new villains like Mandragora. Now the Doctor can hire her onto the Rhodes Island squad—and oh boy, is she worth the effort! Ever heard “The best defense is a good offense”? You can’t get much more “offense” than hooking your shield up to a rocket launcher.
Horn is not the single best damage dealer in Arknights, but she’s definitely very high on the list. She’s not good at playing the Defender role of “sitting still and Blocking enemies,” though, so you’ll need other units to take care of that. Instead, Horn gets her value by backing up your Blockers with phenomenal amounts of AoE artillery damage. Her S2 and S3 both pour bombshells onto incoming enemies with phenomenal results, and her S1 is a surprisingly helpful utility option that can negate enemy Invisibility.
I recommend pulling for Horn.
Whisperain (5★)
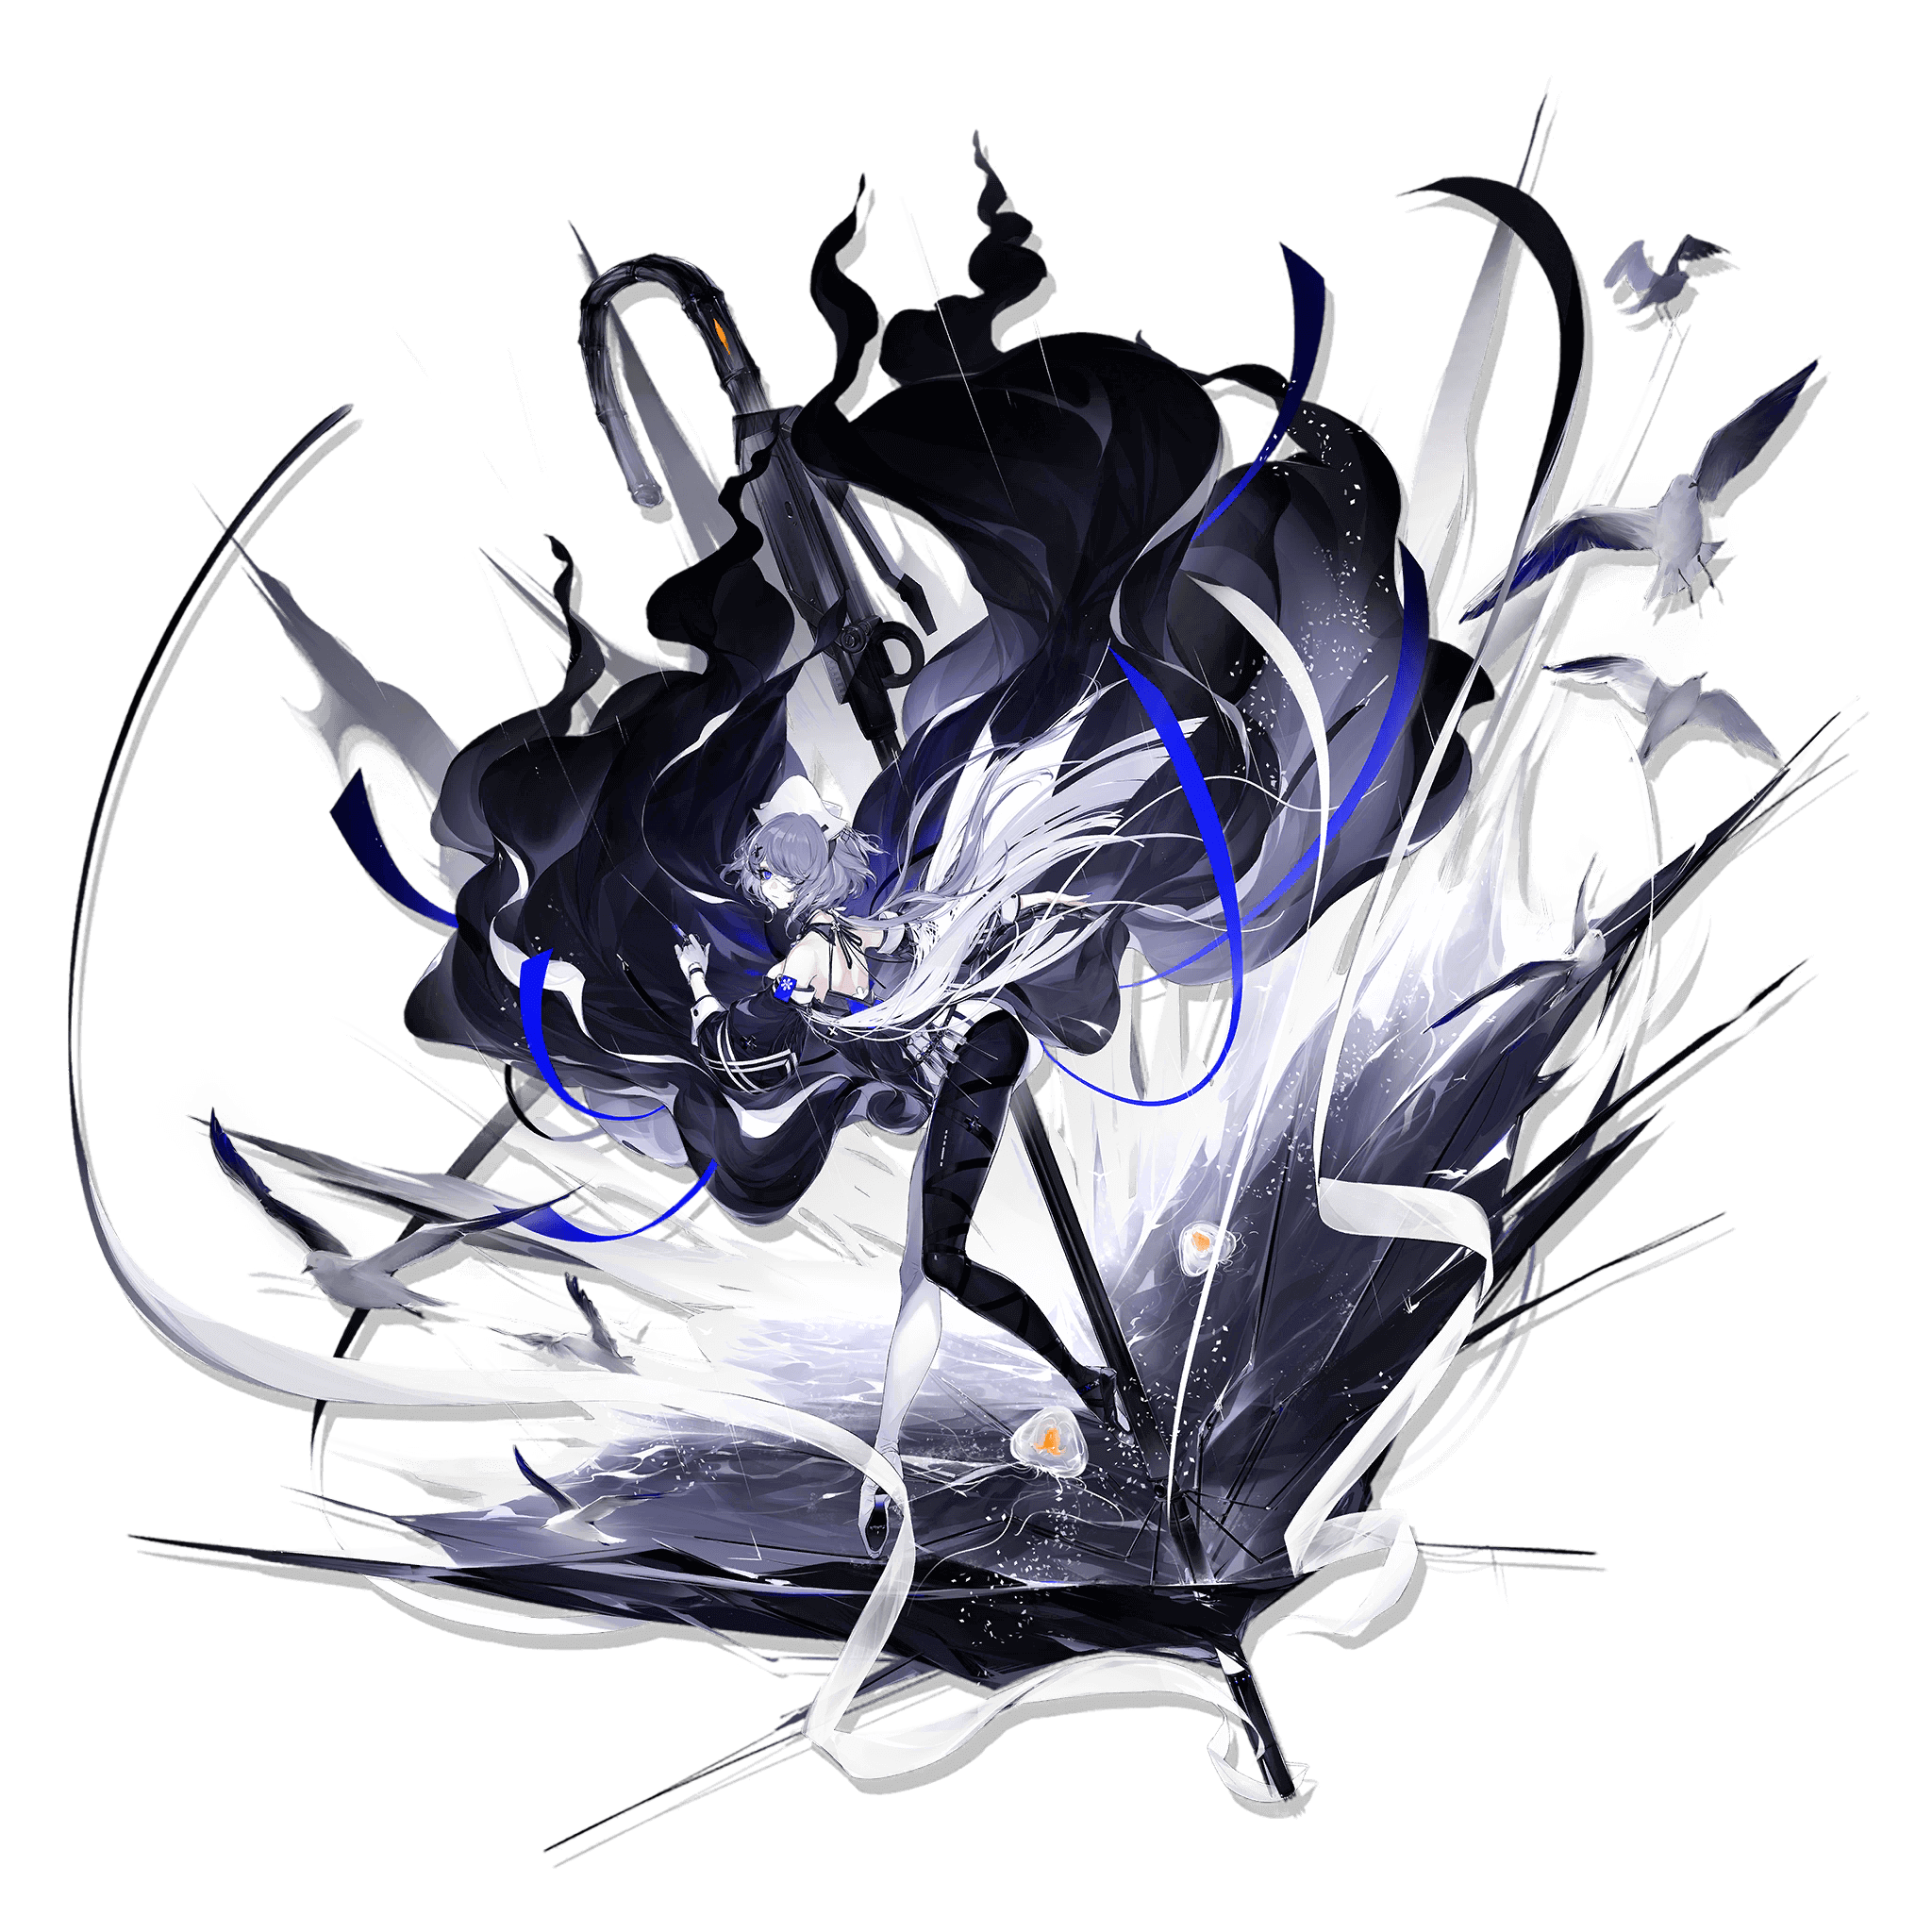
You know how a tiny stream of water can slowly erode away a boulder? Whisperain’s (5★) healing is like that. On its own, it doesn’t look like much: Whisperain has low ATK and her healing is less effective on faraway targets. The magic comes from pairing her Talent with her S2. With both active, Whisperain heals an ally, places the Status Resistance buff on them (so ailments like Freeze and Stun wear off more quickly), and then passively heals them over time while the buff lasts. The combination of wide healing range, increased ASPD, and regeneration creates a cascade of constant healing, allowing Whisperain to keep multiple allies alive and healthy more easily than her stats would suggest.
This may sound like a dream combination for a Medic, but Whisperain lacks burst healing and her only team utility is Status Resistance (which is not useful when enemies aren’t inflicting status ailments on your Operators). Whisperain is certainly not well suited to keeping a Defender alive through boss-level DPS. However, she is good for providing solid healing across a wide area, and Status Resistance is a godsend when you need it (we’ve all faced Infused Glacial Originium Slugs, haven’t we?)
I don’t recommend pulling for Whisperain (especially if you got Lumen from the “Stultifera Navis” event), but she can be worth developing if you pull her.
Mulberry (5★)
Mulberry (5★) became a Catastrophe Messenger against her family’s wishes, but it was all worth it for the day she overheard her father bragging about how proud he was of her accomplishments to the neighbors. This timid wallflower may not seem like somebody who would keep her head in a crisis, but you may change your mind once you see how stabilizing her healing influence can be during an onslaught of Elemental Damage.
Mulberry is an extremely good healer, but she’s also very comparable to fellow Wandering Medic Honeyberry, who is currently available in the Red Certificate store. Honeyberry tends to be worse at healing HP than Mulberry, but she is very comparable for recovering Elemental Damage, especially when multiple Operators are being simultaneously affected.
I don’t recommend pulling for Mulberry. She’s very good, but Honeyberry can usually do the same jobs.
Rockrock (5★)

Rockrock (5★) is the daughter of a train repairman, and she’s adopted the mentality of a runaway train when approaching her problems: get out of her way or you’ll be run over. She built her laser-guided Float Drone herself, and because it’s not a train, she didn’t bother building any bells or whistles into it—just cold, hard, laser-y damage potential!
Rockrock can hit shockingly hard if she stacks up her Talent and commits to the Overdrive form of her S2. However, not only does this take forever—her Talent is slow to stack and the first (non-Overdrive) half of her S2 duration is just a vanilla ASPD buff—but it comes with a downside. After her S2 ends, Rockrock is Stunned for an equivalent amount of time as she spent in Overdrive. That can be as long as 20 seconds of Stun!!!
You can work around Rockrock’s Stun with Therapist Medics—Status Resistance will reduce the duration of the Stun (and Lumen can cure it outright). If you are very good at planning ahead for Talent charging, Skill activation, and Overdrive timing, Rockrock might be able to apply enough damage in her Overdrive window to be worth it. Unfortunately, most Doctors would probably be better off investing in other Casters.
I don’t recommend pulling for Rockrock.
Jackie (4★)

Jackie (4★) is the daughter of an honorable police officer who loves her deeply—enough to visit her at Rhodes Island, even though she is Infected! Knowing she has her father’s unflinching love and support allows Jackie to throw herself into battle time and time again, ready to punch evil-doers until they stop moving. She isn’t about to sacrifice herself needlessly, however; between her Talent and her S2, Jackie endeavors to Dodge incoming Physical attacks so she’ll be able to see her father again once the battle is over.
Jackie is a tragically underpowered member of a fatally flawed archetype. Low damage output, Block-1, and RNG-dependent survivability makes it almost impossible to find a place where Jackie can meaningfully contribute.
I don’t recommend pulling for Jackie.
Roberta (4★)

Roberta (4★) has won multiple Academy Awards for her styling work and has decided to translate that experience into… giving makeovers to Operators at Rhodes Island. Sure, why not? The aesthetician equivalent of Edna Mode, Roberta deploys high-tech Styler tables that wrap allies in layers of damage-negating cosmetics, deflecting even the strongest attack with the power of sheer fabulousness. A beautiful performance, dahlink!!!
Roberta’s Stylers are actually very effective at their job. The DEF buff is usually inconsequential, but the Shields they provide can make a huge difference, especially against enemies with slow ASPD. Blocking two hits can give Medics enough time to heal a low-HP Defender; give a Fast-Redeploy time to get back on the field; give Mudrock time to recover her innate shields; give a crucial Skill time to finish charging; or give your DPS units time to defeat the enemy.
In 99% of situations, Roberta’s Shields are not necessary. Arknights expects your units to die in direct confrontation with bosses and gives you plenty of tools to deal with this. However, on occasion, you may need a ground unit to survive for just a few crucial seconds, and Roberta is an excellent way to make sure this happens. She can also be useful for Supporter-cycling in SSS mode or provide cheap Block-2 in IS mode, giving her a few other helpful niches.
I don’t recommend pulling for Roberta, but she may be worth investing in if you pull her.
Chestnut (4★)

Chestnut (4★) is a Durin gemologist and Medic who uses crystal healing to care for his patients. The more skeptical among you may be raising your eyebrows at the idea of using crystals to heal wounds from bayonets, bombs, and napalm (and rightfully so). Thankfully, Chestnut uses his Originium Arts to turn crystals into genuine healing devices, rather than relying on the powers of the crystals themselves, making him more reliable in the role than his technique might sound.
With Honeyberry available in the Red Certificate shop, there are few reasons to invest in Chestnut. His HP healing and Elemental Healing are both noticeably worse than Honeyberry’s (to say nothing of Mulberry), and his Skills are more restrictive, with lower uptime and more downsides.
That being said, he does provide Elemental Healing at a lower rarity than either of the Berries, so he’s both less expensive to build and less expensive to hire in IS modes. He is also perfectly capable of keeping up with many sources of Elemental Damage, so even though he is much less effective than the Berries, he is sometimes sufficient to get the job done (though you may need to pair him with another Medic to supplement his poor HP healing).
I don’t recommend pulling for Chestnut.