Intro
Ciella debuts as Dragalia’s Water Agito, commanding an arsenal of long-range, wide-reaching attacks. She also reminds us how crippling Bog and Freeze are, and uncoordinated teams will be left helpless before her onslaught. Her Vulnerability debuff will punish both successive mistakes and low DPS, so players must approach with proper gear and knowledge to come out victorious.
Viable Picks


The superstars of the current meta include Hawk and Tobias, with typical teams following the three DPS / one support composition.
DPS
Lin You is a strong pick as Ciella can be slept once per phase, while Ranzal can dispel Karmic Shield stacks. Sylas offers both DPS and limited support.
Support
Tobias (and Noelle to a lesser extent) is renowned for providing potent STR buffs while also healing the team via Freyja shapeshifts. Dedicated healer runs are slower, but Lowen is notable for purging Bog, while Grace’s massive Life Shields will prevent status altogether.
Equipment
Halidom:
- Wind Altars Lv. 35+
- Weapon Dojos Lv. 31+
- Wind Tree Lv. 15 (MAX) [using rewards from Standard Ciella first clear]
- Aero Slime Statue Lv. 15 (MAX)
Event Facilities:
- Wind Shrine Lv. 35 (MAX)
- The Hungerdome Lv. 30 (MAX) [Blade/Wand users]
- Seabed Stage Lv. 30 (MAX) [Bow/Dagger users]


RECOMMENDED
DPS: Fully unbound HDT2 weapon
Buff/Healer: Fully unbound CT weapon


Vayu remains the king of Wind DPS, while Freyja provides invaluable heals and increased skill uptime. Pazuzu is a good substitute given the abundance of Poison in top tier DPS kits.
Moveset Description
NOTES:
With sufficient DPS, Ciella may skip over some parts of her attack rotation entirely.
If Ciella’s Overdrive gauge is depleted during an un-iframable attack such as Floor of Despair or Frigid Beam, the attack will not be interrupted and she will be broken once the attack ends.
Vulnerability
All of Ciella’s attacks will apply stacks of Vulnerability, reducing DEF by 15%, lasting 90 seconds, and stacking up to 3 times. If lacking sufficient DPS, there are several instances of unavoidable AOE that will leave the team on a razor’s edge.
Pulse
Ciella will charge in place, then unleash a mapwide pulse, inflicting minor-moderate damage and applying a Vulnerability stack. This attack cannot be iframed, but may be tanked in Dragon form to avoid acquiring a stack.
Bolts from Above
Ciella targets each player with four circular red markers in rapid succession. These may be outrun by running/rolling away, but may also be i-framed by medium-long skill casts. Take care to avoid following teammates’ paths so as not to trap one another. To conserve map space, players may retreat to individual quadrants of the map then run/roll along the outer rim.
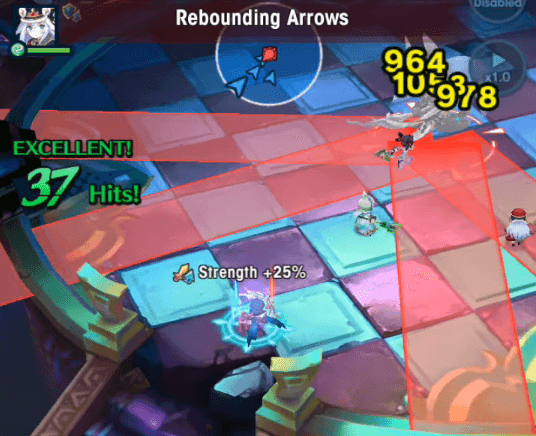
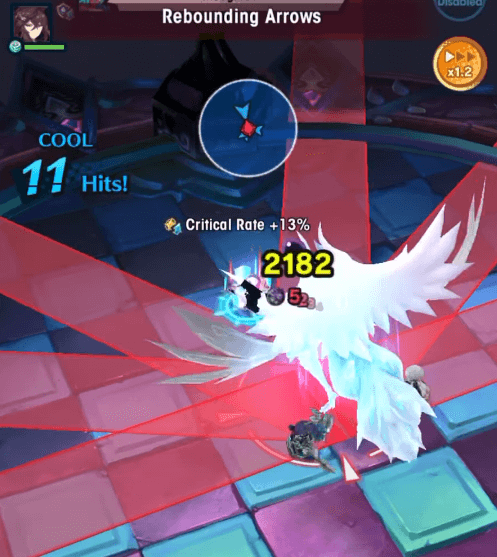
Rebounding Arrows
Ciella targets the furthest player with a fan of linear red marker shots. Upon hitting the stage wall, these shots will bounce and travel approximately the same distance back before fizzling.
Given the spread of the shots, Hawks can stand directly in front of Ciella and safely free fire. Melee adventurers should roll behind Ciella to avoid the arrows.
Charge Shot
Ciella will face an adventurer and begin charging a markerless linear attack. After about 2 seconds, she will fire, dealing moderate to heavy damage depending on Vulnerability stacks.
Targeted adventurers may roll out of the line of fire or iframe the attack with a skill.
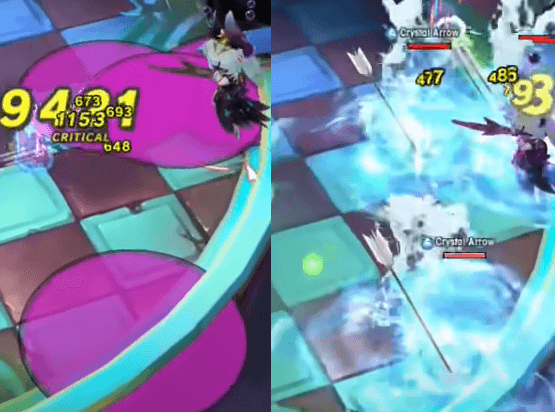
Summon Crystal Arrow
Ciella targets each player with a circular purple marker attack, spawning 4 destructible Crystal Arrows upon landing. These arrows have a Bog-inflicting aura, and if allowed to survive, will splinter into icicles when hit by Ciella’s Frigid Beam.
Players are recommended to group together before this attack so as to easily destroy all four arrows while simultaneously damaging Ciella.
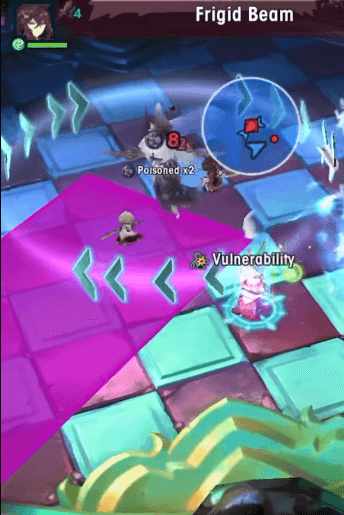
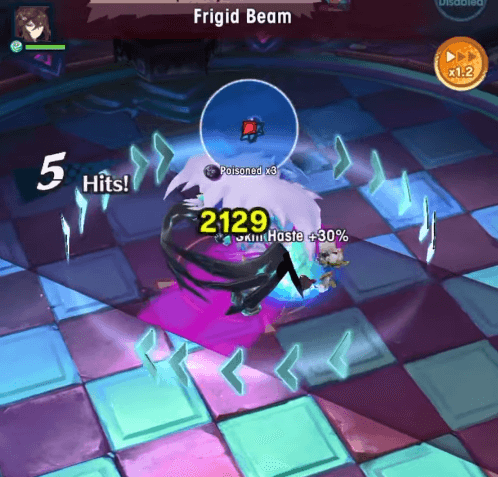
Frigid Beam
Ciella channels a wide purple marker laser starting at the 7 o’clock position and rotating clockwise for one revolution. Players caught in the beam will be Frozen.
Mist Veil
Ciella enters active camouflage and becomes untargetable, skulking around the map before coming to rest at the 1 o’clock position. Upon exiting camouflage, she will face away from the wall and target the lower portion of the map with an extremely wide, conical purple marker attack. Players will be completely safe if hugging the top side.
TRANSFORMATION
Like all Agitos, Expert Ciella will enter her second form upon depletion of her initial HP bar. This empowered form augments her previous arsenal, so stay alert. Players should Shapeshift during this time to tank the subsequent Pulse and prevent a Vulnerability stack.
Bolts from Above: AGITO FORM
Basically the same as before, but now as purple markers.
Rebounding Arrows: AGITO FORM
Ciella now fires 6 shots, however, the same dodging rules apply for both melee and ranged adventurers.
Frigid Beam: AGITO FORM
Ciella channels a two-way laser in front of and behind herself, rotating clockwise at a slightly faster pace. If players aren’t confident on foot, they may Shapeshift at this time for increased mobility. Daring players may choose to roll directly through Ciella.
Mist Veil: AGITO FORM
While camouflaged, Ciella will pace about, bouncing off the walls twice while following a triangular path before coming to rest. Once her endpoint is discerned, players should hug the wall section closest to Ciella, as she will then face away from that section and blast the majority of the map with a massive purple marker attack.
Karmic Shield
Ciella remains stationary, then grants herself an 8% DEF buff. Unless dispelled or interrupted via Sleep, these buffs will make Ciella increasingly tanky if the fight drags on.
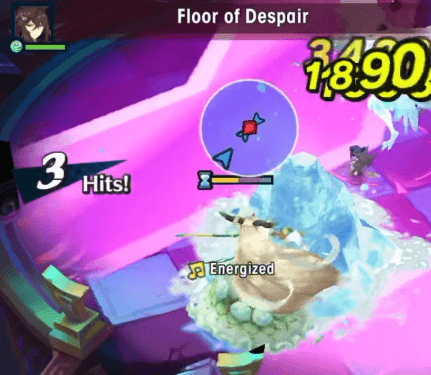
Cryogenic Meteor / Floor of Despair
Ciella targets each player with a circular purple marker which will remain as terrain upon landing, similar to High Brunhilda’s volcanoes. Roll once to get clear, and attempt to form a north-facing cone with your teammates.
Ciella will then follow up with Floor of Despair, two successive map-wide waves whose paths are indicated by massive arrows. Players should take shelter by hiding behind the previously created meteors. DPS is still possible from behind/within the meteors, although players inside will slowly be pushed outwards.
Wave directions may vary, with either both waves following the same direction or alternating between NW --> SE and NE --> SW.
Rewards


With access to Despairing One's Mask Fragments, players can now fully unbind 6★ weapons of their choice. If Master High Mercury wasn't dead before, she will be now.