The Great Shadowwyrm
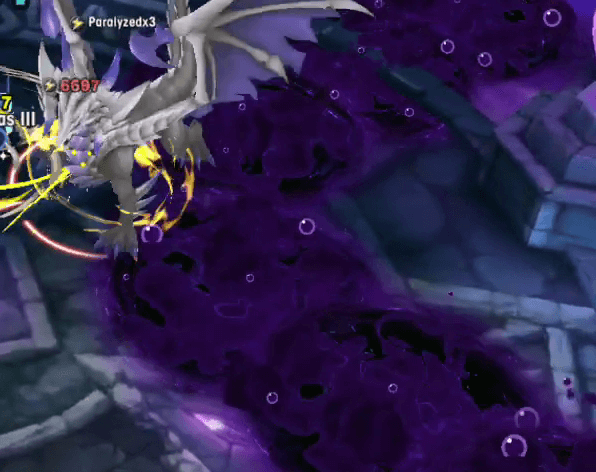
High Zodiark arrived on September 19th, 2019 at 11:00 PM PST. Although Day 1 revolved around some interesting techniques, players quickly realized that Cygames saved the best for last. Dragalia's final High Dragon combines High Mercury's bulk with High Jupiter's punishing mechanics as teams must weather a slew of unavoidable damage. Heavy investment and team coordination are critical factors more so than ever before as there are no shortages of HP checks to keep players honest. Though the entry barriers appear grim, players take solace in High Zodiark's susceptibility to Paralysis, which allows some key power picks to thrive.
Gotta Go Fast?
HP Requirements
Minimum HP With CORE Weapons
| Light | HDT WP | HP +0% | HP +15% |
|---|---|---|---|
| Melee | Yes | 2194 | 1908 |
| Melee | No | 3079 | 2678 |
| Ranged | Yes | 2742 | 2385 |
| Ranged | No | 3849 | 3347 |
Minimum HP With VOID Weapons (DEF +8%)
| Light | HDT WP | HP +0% | HP +15% |
|---|---|---|---|
| Melee | Yes | 2031 | 1767 |
| Melee | No | 2851 | 2480 |
| Ranged | Yes | 2539 | 2208 |
| Ranged | No | 3564 | 3100 |
Not taken into account: Gilgamesh, Dragon and Tamer, or other Shadow Res bonuses.
You Must Be This Tall To Ride
-
50 Mana Circles
-
Crafted 5★ Elemental Core or Void weapon
-
Max Unbound Ruler of Darkness
-
Max Unbound Light Dragon
-
DPS: Ideally Cupid if able. See Dragon selection below.
-
Healer: Commonly use HP or Mixed Dragons, but is otherwise flexible. See Dragon selection below.
-
-
Adequate facilities
-
Light Altar Lv. 30+ (x2)
-
Circus Tent / Sweet Retreat maxed
-
Dojo Lv. 31+ (x2)
-
Twinkling Slime Statue maxed
-
Light Dracolith / Fafnir Statue as high as possible
-
Notable Adventurers


Recommendations by Weapon Class
Melee
Fleur
The current leader in Light DPS, her Skill 1 doublecasts are especially punishing given High Zodiark's susceptibility to Paralysis.
Yachiyo
Brings respectable damage and a STR Co-ability. Yachiyo also has a Paralysis-based kit that has synergy with Fleur.
Halloween Elisanne
A staple who greatly lowers entry requirements with her %HP Co-ability. She brings a balanced kit that offers DPS and Skill Shift support.
Gala Prince
The latest addition to the Light lineup, the Prince accelerates Overdrive phases and gets great mileage out of Cupid's Shapeshift.
Ranged
Hildegarde
The ideal Light healer, hands down. Hildegarde protects her allies' HP-conditional bonuses using 100% Skill Prep and a sizable %HP shield.
Summer Cleo
Providing great DPS, team buffs, and Paralysis support, Summer Cleo offers quite a bit for a ranged DPS Adventurer. Teammates will appreciate shortened basic attack rotations owing to a hefty 15% Skill Haste Co-ability.
Xiao Lei / Lucretia / Amane
Although their Skill Damage Co-ability contributes to overall damage, the current Light Wand roster is generally not preferred in the current High Zodiark meta. Xiao Lei makes a decent case by pairing enhanced Crit Damage with Cupid's Crit Rate buff, but her lack of Curse immunity confines her to the hands of experienced groups.
Cupid's Arrow

Cupid: The premier damage pick who can also help out with healing in a pinch.
Gilgamesh: Reserved specifically for ranged DPS like Lucretia, Amane, or Summer Cleo who appreciate the extra resistance.
High Jupiter / Jeanne d'Arc / Unicorn: All are viable options for Hildegarde, who wants as much HP as possible. It should also be noted that Hildegarde may opt for an offensive Dragon as well, depending on how experienced the party is.
Pop-Star Siren: Although not commonly seen, experienced parties may opt for a Pop-Star Siren to provide additional Energy support.
Wyrmprint Selection


Ruler of Darkness is highly recommended, as there are several instances of unavoidable damage and stacking. Surviving without this print is not a risk that needs be taken by most players, although experienced parties may opt to forego this for faster clears with the inclusion of Halloween Elisanne and near-perfect play.
Companion Wyrmprints are usually weapon-specific picks such as Twinfold Bonds, Forest Bonds, Dragon and Tamer, and The Shining Overlord.
Resounding Rendition fills in for remaining weapon classes.
Core vs. Void Weapons
Unsure of whether to grind Void Nidhogg? Here are the ideal 5★ weapon picks by weapon class.
Note: Core weapons with damage Skills are given preference for their Lantern-killing prowess, although Void weapons are also appreciated for the extra %DEF and Bane effect.


Melee
Sword
Zex's End and its offensive Skill are preferred over Death Aeon, although the latter sports slightly higher overall DPS.
Blade
Hollow Lightning is clearly superior to Heavenwing in both damage and defensive utility.
Dagger
Merciful Claw's utility and damage outpace Thunderblade Sugaar's brief Strength boost.
Axe
Blitzfang outclasses Radiant Swath in every way.
Lance
Thunder King's Greatspear has similar performance to Starpiercer, although the former is preferred for its offensive Skill.
Ranged
Bow
Astral Echo and Thunderbow perform similarly, but the former greatly increases survivability.
Wand
Twilight Shimmer deals higher DPS than Worldshaker, but the latter allows for more accessibility without a Halloween Elisanne teammate.
Staff
Dominus of Ever is preferred over Light of Judgement for its increased Recovery Potency.
Attack Rotation

Spite Stacks
Taking damage from any Purple Marker / unavoidable attacks will apply (1) Spite stack, excluding the opening Cursed Catastrophe. Shadow Blast , an unavoidable pulse, will deal damage based on a player's Spite stacks. Although Hildegarde can heal off superficial damage, accruing too many stacks will render a player unable to withstand Shadow Blast.
Phase 1
Cursed Catastrophe
Opening HP check. See "HP Requirements" above for survival breakpoints.
Breath
Prior to a Breath, a "!" will appear above High Zodiark's head, similar to High Brunhilda's Breath attack. This attack will cover a cone area starting from his left to right.
One melee Adventurer should position away from the rest of the party to bait this attack appropriately.
Short Dash
Poison (x2)
High Zodiark will spit a column of poison twice (not to be confused with the Poison affliction) that remains as a damaging AoE. The direction of the spits are determined by the two nearest Adventurers, starting with the closest one. Therefore, the two melee DPS members that stay in close proximity will need to ensure that High Zodiark's spits land in the desired locations.
Charge
High Zodiark will pause and face the furthest Adventurer from him, then execute a linear, long distance charge. The healer typically baits this charge.
Note: The Purple Marker for this move is slightly delayed, and players should get clear of the direction High Zodiark is facing well before it appears.
Tail Slam
High Zodiark will slam down his tail, dealing dealing to players directly behind him. This attack can be iframed, but its safer to simply be out of harm's way in the first place.
Umbral Chaser
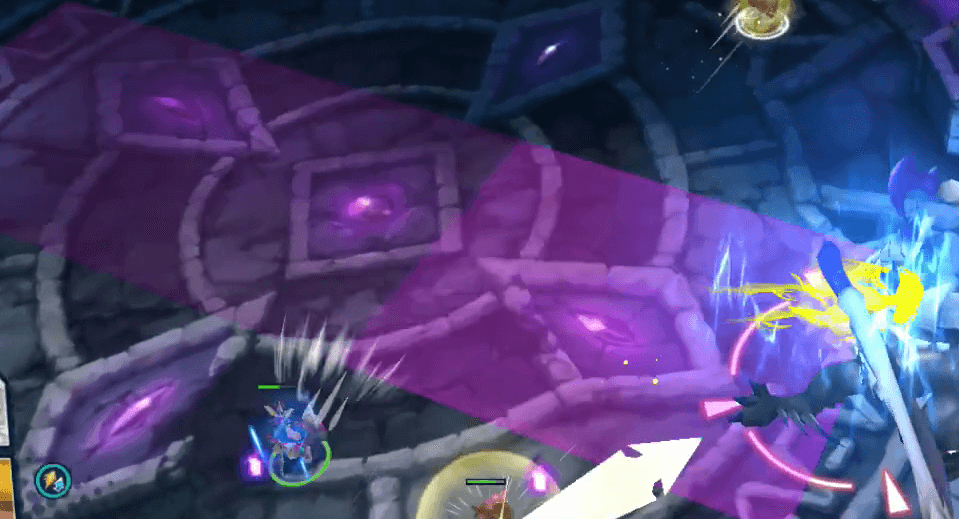
A Purple Marker will begin charging under each player, "chasing" them as they move. Avoid overlapping to prevent taking extra Flame stacks.
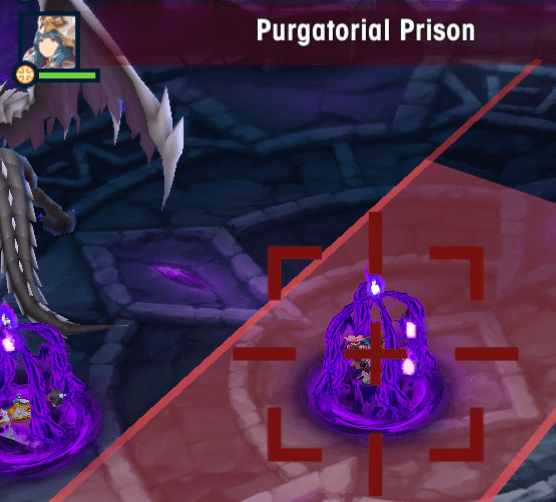
Cursed Realm (North / South), Purgatorial Prison
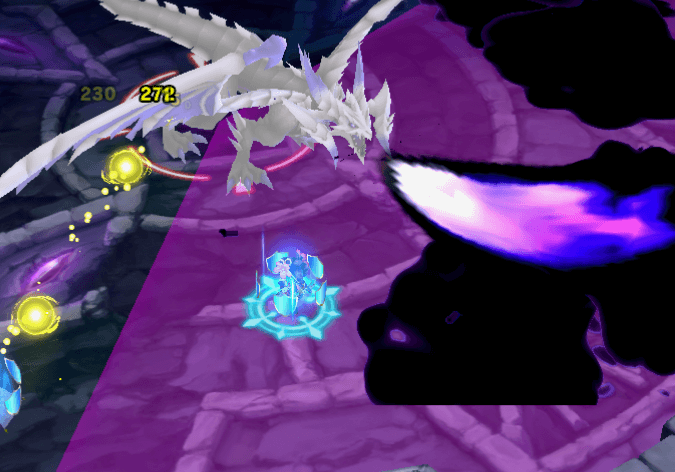
A line stretching vertically across the map will appear, and the Adventurer closest to High Zodiark will be marked. Movement of the vertical damage indicator will be determined by the marked player's positioning. After a long windup period, damage is evenly distributed across every player inside, so all four players should be present within the line to survive.
Purgatorial Prison will trap two players that are the furthest from High Zodiark for the duration of Cursed Realm's windup, rendering them completely inactive. The healer will naturally be at a distance, so one other player, usually the ranged DPS or Halloween Elisanne, should stay in close proximity to the healer at the very least. If the trapped players are spread too far apart, the party will be unable to collectively tank Cursed Realm, which can spell a quick end to the run.
Short Dash
Phase 2
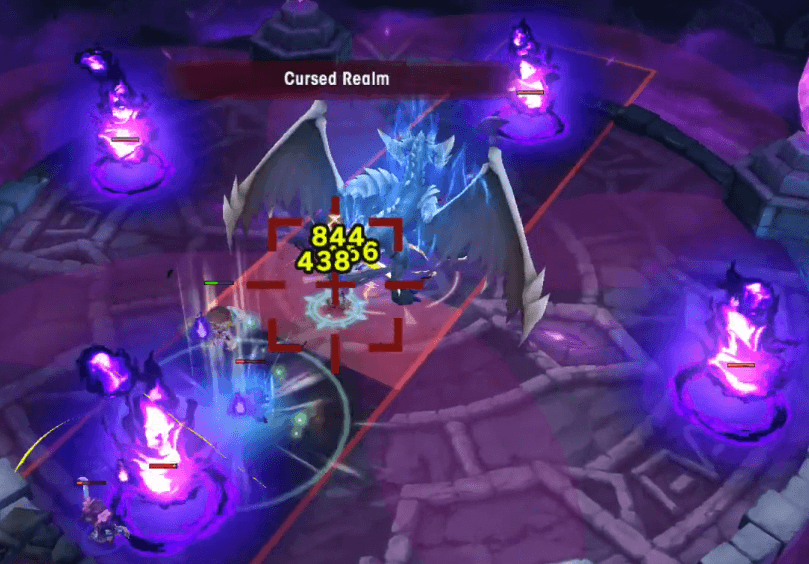
Lanterns Spawn
High Zodiark will move to the center of the arena, and four destructible Spectral Flame objects (henceforth referred to as "Lanterns" in this guide) will spawn at the map's North, South, East, and West. These Lanterns each cover their own map quadrant, and will detonate after a long windup period, covering their quadrant in a powerful damaging miasma field.
For this particular phase, it's recommended to destroy the South Lantern and remain in that quadrant until the others detonate. Damaging High Zodiark from the South provides the best viewing angle and prepares the party for the incoming Cursed Realm.
Cursed Realm (North / South)
The healer should have a party-wide heal ready, as everyone will be on low health after tanking Cursed Realm. If the party has collectively taken too many hits in prior phases, the healer may not be able to keep pace with heals and the party may wipe at this point.
Lanterns Detonate
Charge (x4)
High Zodiark measures the distance of each party member relative to himself, then targets each player with a Purple Marker Charge in succession, starting from closest to furthest. If any Adventurer is already dead by this phase, their distance relative to High Zodiark is also taken into account as well. Adventurers that gets in front or the sides of him will be severely damaged.
Organized parties may opt to distribute the Charge baiting however they wish. In public rooms, it's common for each party member to take turns baiting High Zodiark south as of this writing.
Note: If High Zodiark Charges close to a wall at an angle, he will continue forward and slide. Adventurers that are bumped by High Zodiark's sides as a result of this will also be hurt.
Note: If High Zodiark breaks during this phase, he will continue to charge at the next target after recovering from Break state.
Short Dash
Breath
Tail Slam
Shadow Blast
Unavoidable pulse that deals increased damage based on a player's Spite stacks.
After the blast is dealt with, players at range should stick together at this point as they will be soon trapped by Prison again.
Purgatorial Prison
Poison (x2)
The two non-trapped players, usually the melee DPS, must bait the Poison columns away from the trapped players, as they are otherwise helpless while trapped.
Phase 3
Lanterns Spawn
For this second set, destroy both the South and East Lanterns. This is to provide enough safe room to avoid the subsequent Breath.
Breath
The primary melee baiter should bait the Breath to the far right, while the remaining players deal damage from near the bottom.
Lanterns Detonate
Cursed Realm (East / West), Purgatorial Prison
Similar to the initial North/South variant, every player should group together so that the trapped players may help tank the stack marker.
Alternatively, the marked player may also opt to tank Cursed Realm via Shapeshifting if necessary.
Charge
Tail Slam
Breath
Shadow Blast
Phase 4
Lanterns Spawn
Cursed Realm (East / West), Umbral Chaser
The most common strategy is to focus fire the South Lantern, then have the marked player tank Cursed Realm by Shapeshifting. With the marked player positioned up close towards High Zodiark, their three allies will have just enough space on the southern end of the map to avoid Chaser overlap.
If necessary, players may also opt to tank via Shapeshifting as well.
Lanterns Detonate
Charge
Poison (x2)
Shadow Blast
Short Dash
Breath
Tail Slam
Phase 5
Lanterns Spawn
Cursed Realm + Umbral Chaser OR Breath
High Zodiark will either mark a player with Cursed Realm or unleash a Breath.
IF A PLAYER IS MARKED: Use the Phase 4 Lantern strategy. Pop the South Lantern, have the marked player move up and Shapeshift while the remaining three hang back and spread out during Umbral Chaser.
IF A PLAYER IS NOT MARKED: Use the Phase 3 Lantern strategy. Destroy both the South and East Lanterns, then have one player bait the incoming Breath to the right.
Lanterns Detonate
At this point, High Zodiark should be close to death, and victory should be within grasp given sufficient DPS.
Staggered Lanterns
The Lanterns will spawn in order from North, East + West, then South.
The last phase of the fight can be quite chaotic. There are two common options moving forward:
1. Immediately destroy the North Lantern and DPS from the North quadrant.
2. Remain in the South quadrant for as long as possible, then Shapeshift to tank the Southern miasma and migrate to the now-clear North side.
Tail Slam
Poison (x2)
Breath
Charge (x4)
As a reminder, Adventurers that are already dead are taken into account by High Zodiark when determining his Charge sequence and direction as well.
Breath
Rewards


-
Conqueror of Shadow epithet
-
High Zodiark: 5★ Dragon purchased with Shadowwyrm's Greatspheres
-
Shadow Fafnir Statue: purchased and upgraded with Shadowwyrm's Greatspheres
-
Ripe / Succulent Dragonfruit, Talonstones, Shadowwyrm's Greatspheres, Shadowwyrm's Darkscales