Possible Drops:
--
Mission and Clear Conditions:
Mission: Survive for 4 Turns
Clear Guide:
Team Recommendations:
-
1 Anti-Armor Echelon, Level 90 5x Linked
-
AR Based Echelons should not be used here if at all possible.
-
-
1 Dummy Echelon
Clear Steps
The penultimate map of Continuum Turbulence is a brutal defend map, with the KCCO throwing more than a bit of firepower at you. Luckily, AN94 and AK12 apparently got fed up with being hostages and got some serious buffs, as those massive CEs are not lying. Both of them are capable of soloing most enemies on the map. 416 and SOPMOD aren't quite as powerful, but given that most of what we need either of them to do is fight Cyclopes, they are just fine. As for your own Echelons, bring an RF/HG based squad if at all possible as the majority of the map is full of heavily armored enemies. MG based Echelons should be avoided as there are Cyclops who sport a small amount of evasion which can and will ruin your day. If you are using ARs, consider equipping Crit scopes and avoiding the Cyclops with them, as the extra damage can be useful to punch past the heavy armor on this map.
You can either actively defend your Command Post, moving about the map to head off enemies at the pass, or hunker down about the Command Post and wait for the enemy to come to you. This example will be bunkering down and defending, but an active defense is a perfectly viable strategy.
While there are two heavy Heliports on the map, do not deploy HOCs here. They do provide two extra AP, but the extra complications of keeping them alive are not worth the hassle, and the resource cost is stupendous.
Turn 1
1.1
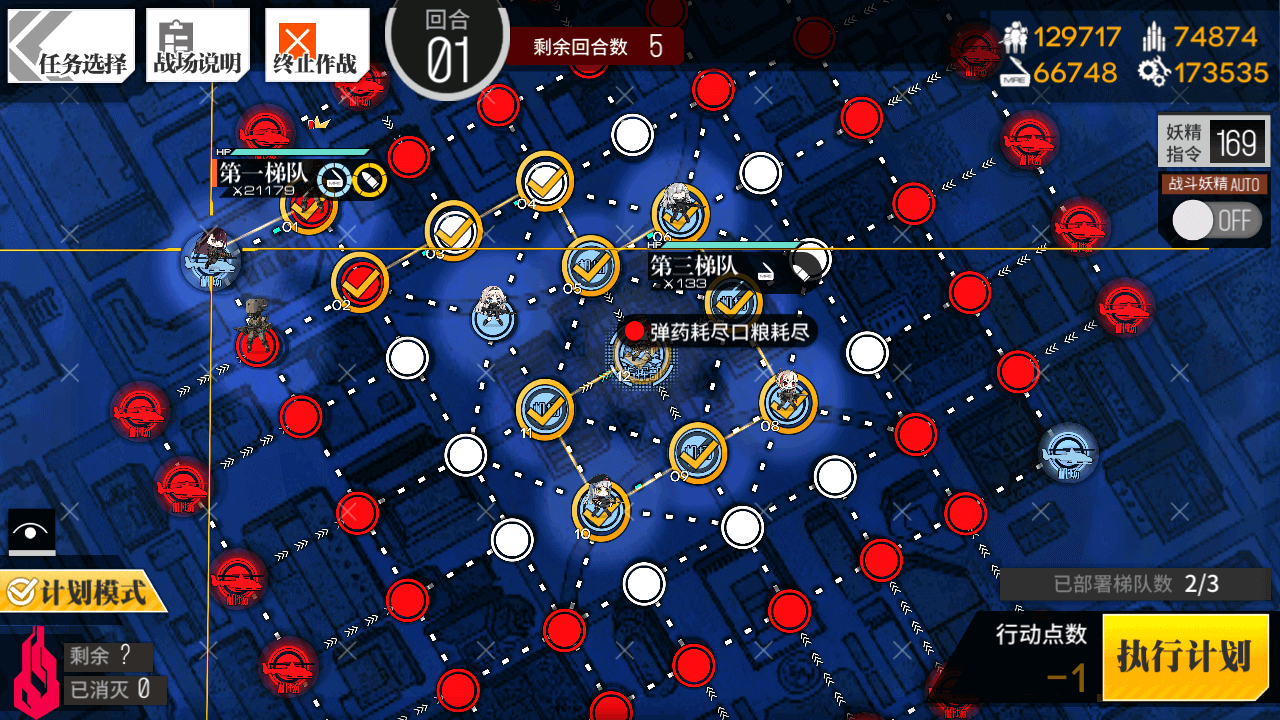
Deploy your Combat Echelon on the upper left regular Heliport, and the Dummy on the Command Post.
Your Combat Echelon is going to go on a bit of a marathon sprint to re-position the Friend Echelons so that they defend the Command Post. Move right, down, right twice, and down again. From there, swap places with AK12. Move down-right one node, and swap places with SOPMOD. Move down left, and swap places with 416. Now, more up and left.
1.2
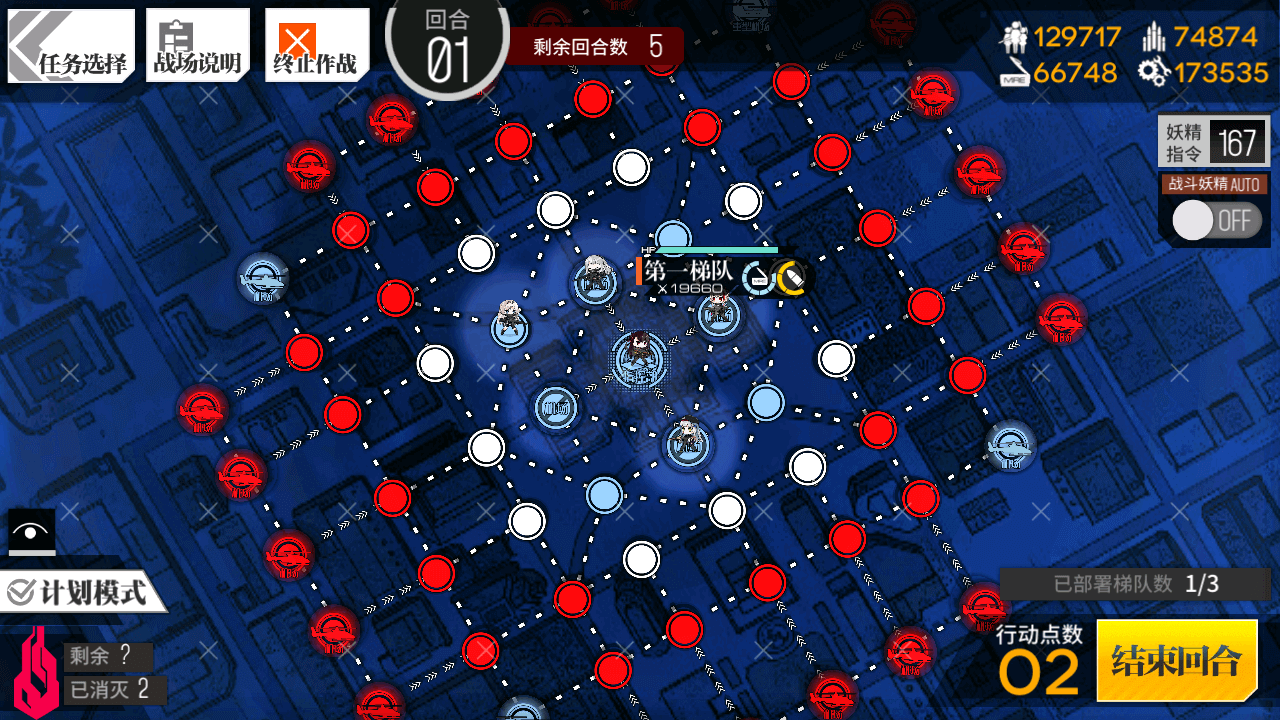
Retreat the Dummy Echelon and step onto the Command Post. Set all allied Echelons to Wait. This is important, failing to do so will result in Defeat. Your final formation should look something like the example.
416 or SOPMOD may not win every battle, that's fine - your RFHG will only need to fight once per turn, and DEFY will prevent HQ from being encircled.
End your turn until the map completes. If your RFHG echelon takes damage, you can use quick repairs each turn as needed.