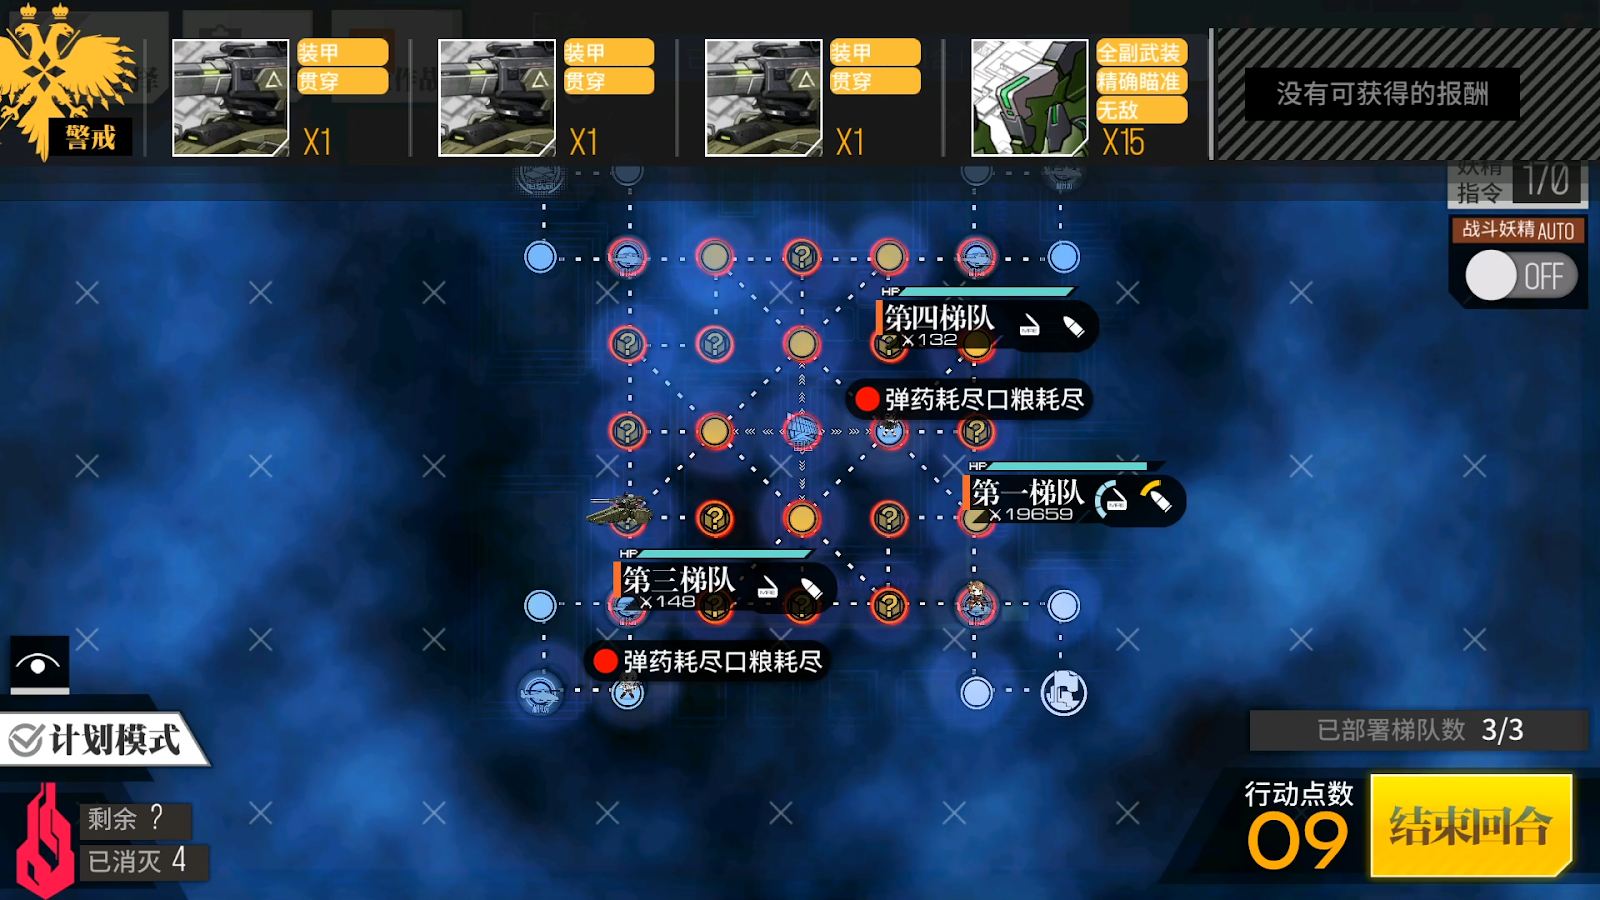
Possible Drops:
--
Mission and Clear Conditions:
Mission: Hold Supply Line for 5 turns.
Clear Guide:
Team Recommendations:
- 1 Anti-Armor Combat Echelon, Level 90+ 5x Linked.
- 2 Dummy Echelons
Clear Steps
11/22 update: A non-RNG clear guide is now available. See the embedded video below and follow that one instead.
Ho boy. This map. You have five turns to establish the supply line, and then hold it for another five turns. Every Random Node is an enemy, which are armored. Sound fun yet? How about the Typhon in the center that moves in a random direction at the start of the map, and you have to kite around for several turns while you hold the Supply Line? None of this is especially hard, but it does make a definite strategy for this map difficult to nail down. The biggest priorities are to get the Tank into the lower-left or upper-right corner of the map, and stay at least two spaces away from it at all times.
Writer’s Note: As I alluded to above, the walkthrough provided below is not 100% foolproof. I have done my best to make it so, but it is entirely possible that you will see different behavior from the Tank in your own runs. In theory it may be possible to kill the Tank, but this is not recommended.
To minimize RNG, it is recommended to ensure that no two Echelons are the same node distance from the tank - ideally, the Bait Echelon should be the closest Echelon to the Tank, with no other unit being the same node distance away.
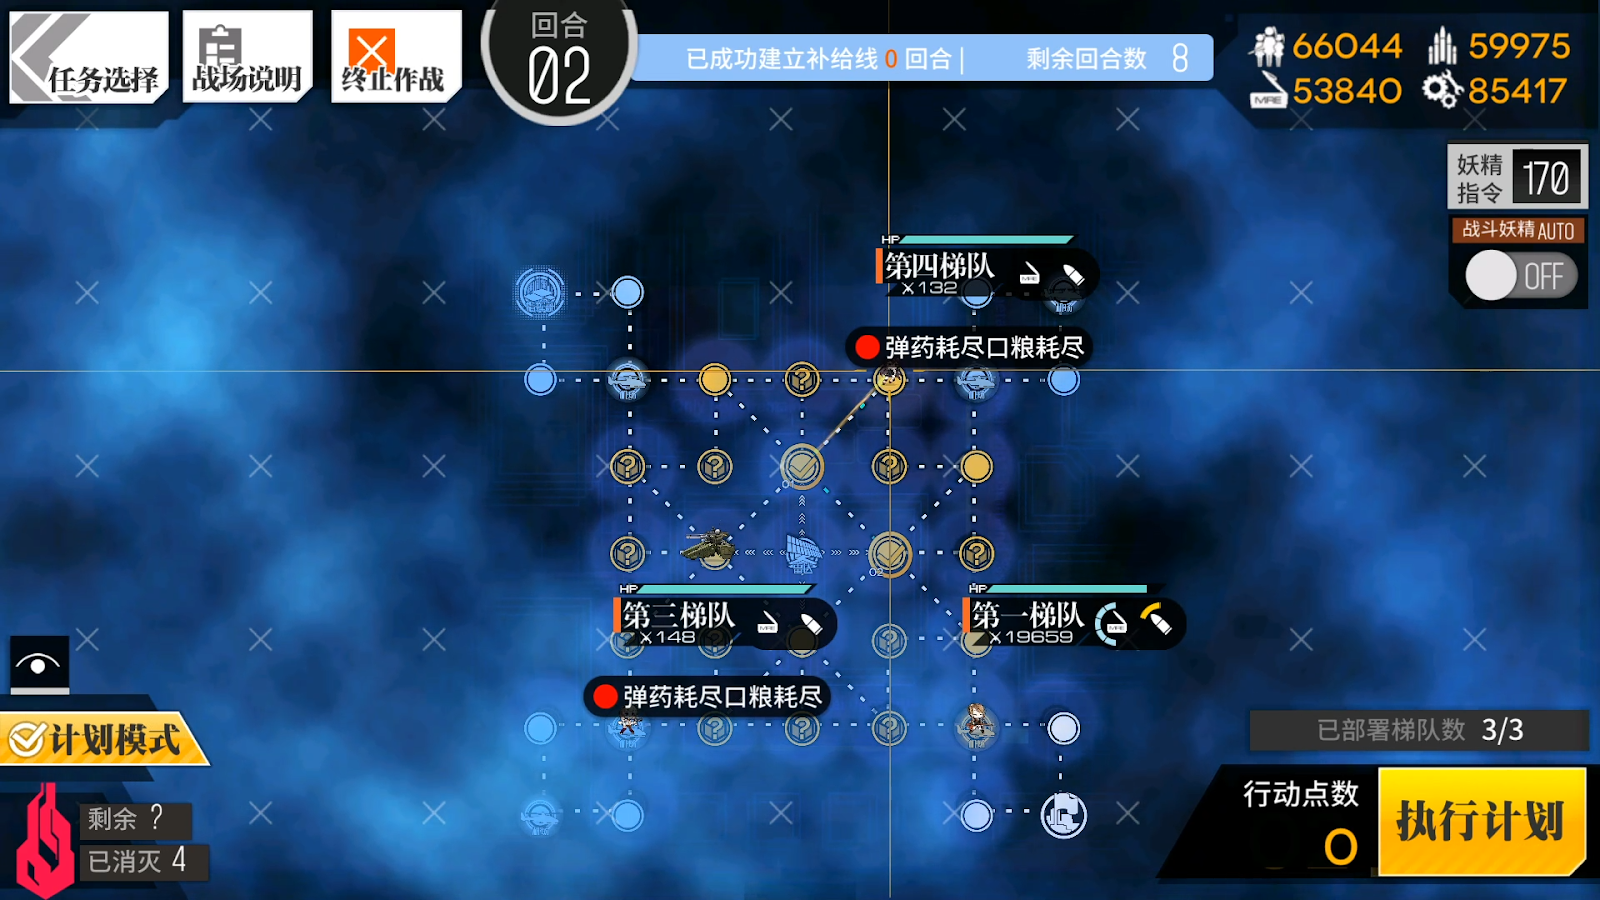
Turn 1
Deploy your Combat Echelon on HQ, and two Dummy Echelons on the Heliports. Move them onto the Heliports at each corner.

The Red Goliath’s location dictates the node in which the enemy Typhon will move, and it can be on any one of the four nodes near the center. It’s fine if the Red Goliath spawned in a different location for you - because the map is diagonally symmetrical, simply follow the same steps but do it on the mirrored side of the map.
To minimize RNG, you can retreat and reset until the Goliath is at the top or left side of the Typhon.
In this case, the Typhon will move to the left.
Turn 2
Depending on where the Tank ended up, you’ll need to take your Combat Echelon through a winding path on the other side of the map. Your Dummy Echelon on the same side of the map as the enemy Typhon will be the "bait".

Your Combat Echelon will fight some packs of heavily armored Aegis units. They’re relatively harmless.
Move your Dummy Echelon to the node opposite the Typhon, to prevent the central radar from becoming encircled. End your turn.
Turn 3
If everything went well, the enemy Typhon will have chased after the Bait Echelon. If not, you can attempt to improvise the clear, or reset your run and try again.
The KCCO Typhon prioritizes the unit that is closest to it. To minimize RNG when freestyling this map, make sure that no other unit shares the same distance to the Typhon as the closest bait.
Move the Bait Echelon away one node; your map should look something like this:
As you can see, the enemy Typhon’s patrol range is only the central 5x5 square. It will now ignore the Bait Echelon and move towards your other units.
Move your units to capture these two nodes along the planned supply route, and end your turn.

Turn 4
The Typhon will have moved back towards the center. You don’t want to capture the final node along the Supply Line just yet, since the Typhon is too close and can step on one of the nodes you just captured.
Instead, lay low for one turn and bait the Typhon down again with the closest Dummy Echelon.

Turn 5
Now that the Typhon is safely away from the planned Supply Line, use your Dummy Echelon to capture the final node.

Your Combat Echelon can now move onto the Supply Point.

Turn 6+
The Supply Line will have completed at the start of your turn.

Move your Dummy Echelon out of the central 5x5 square. The Typhon will stand still when there is nothing aggroing it.

End your turn a few times, and the Supply Line defense will be complete.