Videos From Content Creators
Team
 |
 |
 |
 |
 |
 |
Core
| Critical | |
|---|---|
| Ki Restore Speed |
- He's the definition of slow starter: right off the bat, Demon King Piccolo is pretty average, and considering his Transforming conditions are harsher than most Fighers of the same kind, that might be an issue for some people.
- On the other hand, his Transformation is likely the strongest in the Game. Primarily, right after his rejuvenation, he regains a full hand of cards and Ki, so he can gain a lot of momentum really fast. However, in general he's just an Offensive powerhouse, especially in a Blast Based Team such as this one.
| Critical | |
|---|---|
| Ki Restore Speed |
- An amazing Fighter overall. He’s able to inflict very long Combos on the opponent with high Damage Buffs, thanks to all the Ki he generates in general as well as his Arts Draw Speed. Also, his Extra Move refills his whole hand, so Demon King Piccolo will constantly be able to put pressure on the opponent. Even Defensively, his high stats ensure he’s able to withstand at least a few hits.
- His Main Ability is the cherry on top, as it provides some of the best utility in the Game by Effectively giving this Team a serious advantage.
| Critical | |
|---|---|
| Ki Restore Speed |
-
Her Dragon Balls disruption capabilities and overall utility make her a nice partner for SP Demon King Piccolo YEL.
-
Her Abilities are pretty great Offensively, but they heavily rely on chaining multiple Blast Cards together to stack up, so pairing her with SP Demon King Piccolo PUR is a no brainer.
| Critical | |
|---|---|
| Ki Restore Speed |
-
His Damage output is decent, although it's pretty reliant on his Capability to build Crit chance up.
-
The Strike Cards he holds Buff Crit chance, which means he Supports the Team pretty well too.
Bench

| +20% to "Episode: Dragon Ball Saga" or "Tag: Legends Road" base Strike & Blast Defense during battle. | |
| +25% to "Episode: Dragon Ball Saga" or "Tag: Legends Road" base Strike & Blast Defense during battle. | |
| +30% to "Episode: Dragon Ball Saga" or "Tag: Legends Road" base Strike & Blast Defense during battle. | |
| +35% to "Episode: Dragon Ball Saga" or "Tag: Legends Road" base Strike & Blast Defense during battle. |

| +29% to Episode: Dragon Ball Saga base Strike & Blast Attack during battle. | |
| +32% to Episode: Dragon Ball Saga base Strike & Blast Attack during battle. | |
| +34% to Episode: Dragon Ball Saga base Strike & Blast Attack during battle. | |
| +35% to Episode: Dragon Ball Saga base Strike & Blast Attack during battle. |
Team Discussion
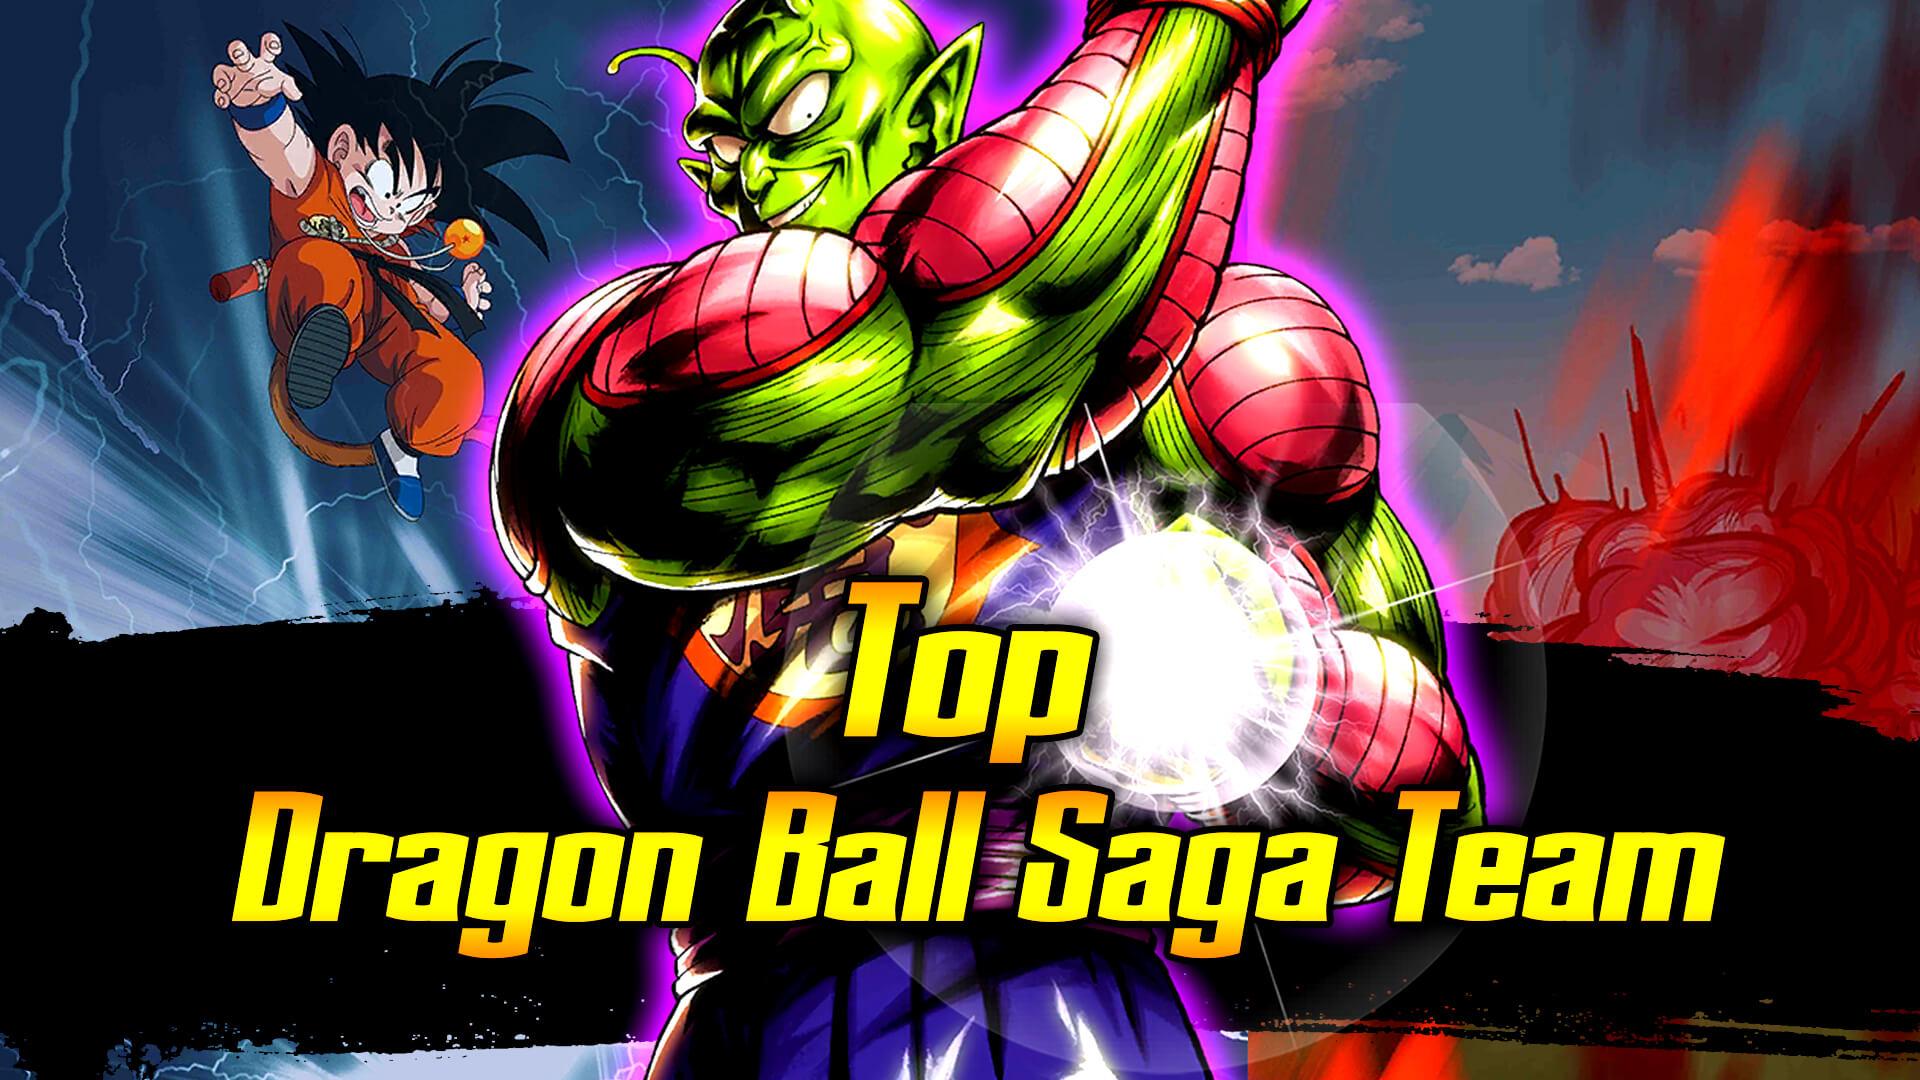
Dragon Ball Saga has been a neglected Tag for a long time, but the new releases it got in 2021 made its outlook brighter. In particular, SP Demon King Piccolo PUR is the real hero of Dragon Ball Saga, as he made this Team considerably more consistent.
While it's true that Dragon Ball Saga has never been in a good spot before, it still had healthy releases Z-Abilities wise throughout the years, which made it easy for the new Fighters to fit in and form a reliable Team. Specifically, Dragon Ball Saga is a Team of two faces: it can be either Blast Based or Strike Based, and it all depends on whether you use Launch or Yamcha. The two Demon King Piccolo variants are staples that should never be left out of the Core, also because Launch and Yamcha fit horribly together ( Launch needs to have many Blast Cards at her disposal, while Yamcha's ranged capabilities are incredibly weak ).
However, since the DKP duo is the focal point of this Team, it's important they get going early. While it's easy to do that for the Zenkai variant, since his Buffs are all achievable right off the bat, Transformation restriction hinder SP Demon King Piccolo PUR a bit. It's fitting that Z7 DKP makes it easier to fulfill his purple's counterpart required conditions through Dragon Ball stealing capabilities, but don't consider it a consistent shortcut, and just play every Match with the assumption SP Demon King Piccolo PUR will only Transform after 30 counts.
In general, this Team's playstyle is always very Offensive, as it sadly lacks any kind of Defensive utility, so the truth is Dragon Ball Saga is still pretty limited as a Team despite its sign of resurgence. At least it's finally something more than a fun comp.
Alternate Core Members
| Critical | |
|---|---|
| Ki Restore Speed |
Damage, Support, Endurance, Goku provides it all, but he does nothing at a high enough level to be better than SP Demon King Piccolo YEL on the Core.
Alternate Bench Members

| +20% to "Element: BLU" base Strike & Blast Attack during battle. | |
| +22% to "Element: BLU" or "Episode: Dragon Ball Saga" base Strike & Blast Attack during battle. | |
| +28% to "Element: BLU" or "Episode: Dragon Ball Saga" base Strike & Blast Attack during battle. | |
| +30% to "Element: BLU" or "Episode: Dragon Ball Saga" base Strike & Blast Attack during battle. |

| +20% to "Element: BLU" base Strike Attack & Defense during battle. | |
| +22% to "Element: BLU" or "Episode: Dragon Ball Saga" base Strike Attack & Defense during battle. | |
| +28% to "Element: BLU" or "Episode: Dragon Ball Saga" base Strike Attack & Defense during battle. | |
| +30% to "Element: BLU" or "Episode: Dragon Ball Saga" base Strike Attack & Defense during battle. |