Table of Contents
Character Stats
| Critical |
|
|---|---|
| Ki Restore Speed |
|
Character Info
| Battle Style | |
|---|---|
| Melee | |
| Arts Cards Held | |
| Tags | |


|
|
| Nicknames | |
| youthku, goku son, son goku, Kakarrot, Kakarot | |
Overview
Landscape video thanks to ZvG
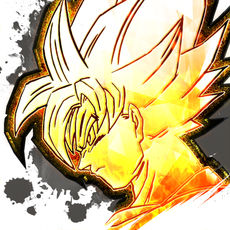
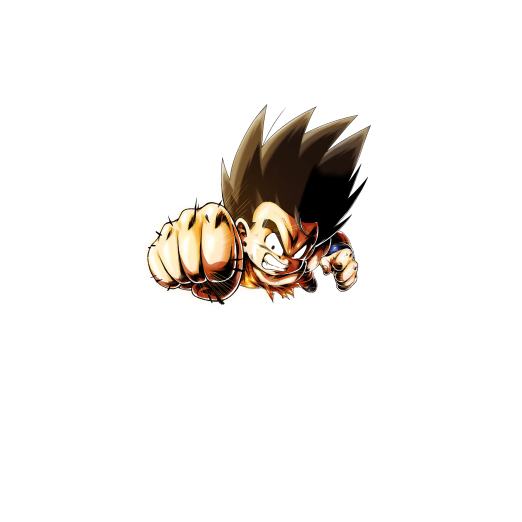
At long last, Earth’s first Saiyan, SP Youth Goku YEL, and by extension, fans of the Original Dragon Ball as a whole, have been done justice in Dragon Ball Legends. SP Youth Goku YEL breaks new ground by being the first fully Zenkai Awakenable character that is entirely accessible without spending a single Chrono Crystal.
Players willing to complete the grueling grind to fully Awaken, Soul Boost, and Limit Break Zenkai 7 SP Youth Goku YEL are rewarded with undoubtedly the strongest individual Fighter in the game.
Youth Goku has the strongest Support utility out of all Saiyan Fighters, high and consistent personal Damage output, fantastic Defenses, and absurd burst Damage thanks to his Main Ability's Ultimate Arts Card. Goku can even sustain a fatal blow with his Endurance effect, and his Crisis utility makes him one of the best Last Man Standing Fighters.
Kid Goku has no clear faults, aside from his slightly disappointing Extra Arts Card, which isn't much of a problem considering the Teammates Goku is likely to be paired with have fantastic Extra Arts Cards. On all of his Teams, Zenkai 7 SP Youth Goku YEL is unbelievably powerful.
Strengths
Horrifying Damage


When the battle begins, Zenkai 7 Youth Goku instantly shatters expectations by having one of the most comprehensive Offensive toolkits in the Meta. Beginning with +20% Inflicted Damage, +30% Strike Damage, and +1 Card Draw Speed (all permanent once activated on entrance), Goku simply needs no help to tear through any opponent.
When Goku has 2 living Teammates, he additionally gets +30% Ki Recovery, and that, taken in tandem with his inherent Arts Cost reduction, as he's a fully Zenkai Awakened Fighter, lets Goku leverage his absolutely baffling Strike Attack to facilitate the most Damaging Combos in the game.
While Goku will lose that Ki Recovery Buff when an Ally falls, he gets a permanent +25% Buff to Strike Damage as recompense. If 2 Allies Fall, Goku's total Buffs will reach +100% Strike Damage Inflicted.
Stalwart Friend
Zenkai 7 Goku offers more to his Team than just Damage, he's also the best Support Fighter in the game. When he switches to Standby, all allies receive +20% Damage Inflicted for a massive 25 Timer Counts, giving this Buff the potential to be stacked multiple times. Additionally, they receive 30 Ki, giving them excellent Combo extension.
Goku's high bulk, which are so absurd because his Z and Zenkai Abilities increases his Strike and Blast Defense stats by +60% and +55% respectively, let him act as the primary Defensive Fighter on his Team. Even if Youth Goku is hit by a Rising Rush, his Endurance effect will heal him to 20% of his HP if his health drops to 0.
That's not even Goku's only way to Heal, though, as his Main Ability also heals him by 20%. Even if he's put down, he's not guaranteed to stay down. This bulk and longevity, when taken into account alongside his Support utility, is what makes him such a truly broken Fighter.
Last Ditch Effort

The crowning jewel of Zenkai 7 Youth Goku's Offense is his Ultimate Arts Card, Blast Through!, which not only gives him +30% Inflicted Damage for 15 Timer Counts when it's activated, it also negates enemy Endurance effects, ironically making him one of the best counters to himself.
The Main Ability that draws this card also Heals Goku and restores his Ki by 40, ensuring that this decisive blow will always be online when it needs to be.
Weaknesses
Cyclone of Disappointment


Goku's Extra Arts Card, the Obedient Cyclone, is not especially useful. It's certainly unique, as it deflects Blast Arts and Tap Shots while letting Goku close the distance gap between himself and his foe, but its uniqueness is what makes it...awful. It can be trumped by enemy Strike Arts, can be evaded with a Vanish, and most strangely, it can be avoided with a back dash.
If by some miracle it does manage to hit its mark, it increases Goku's Inflicted Damage by 20% for 15 Timer Counts, and any Arts Card can be chained to it, but that extra bonus likely isn't needed if Goku is being used against a player that would get hit by this useless maneuver anyway.
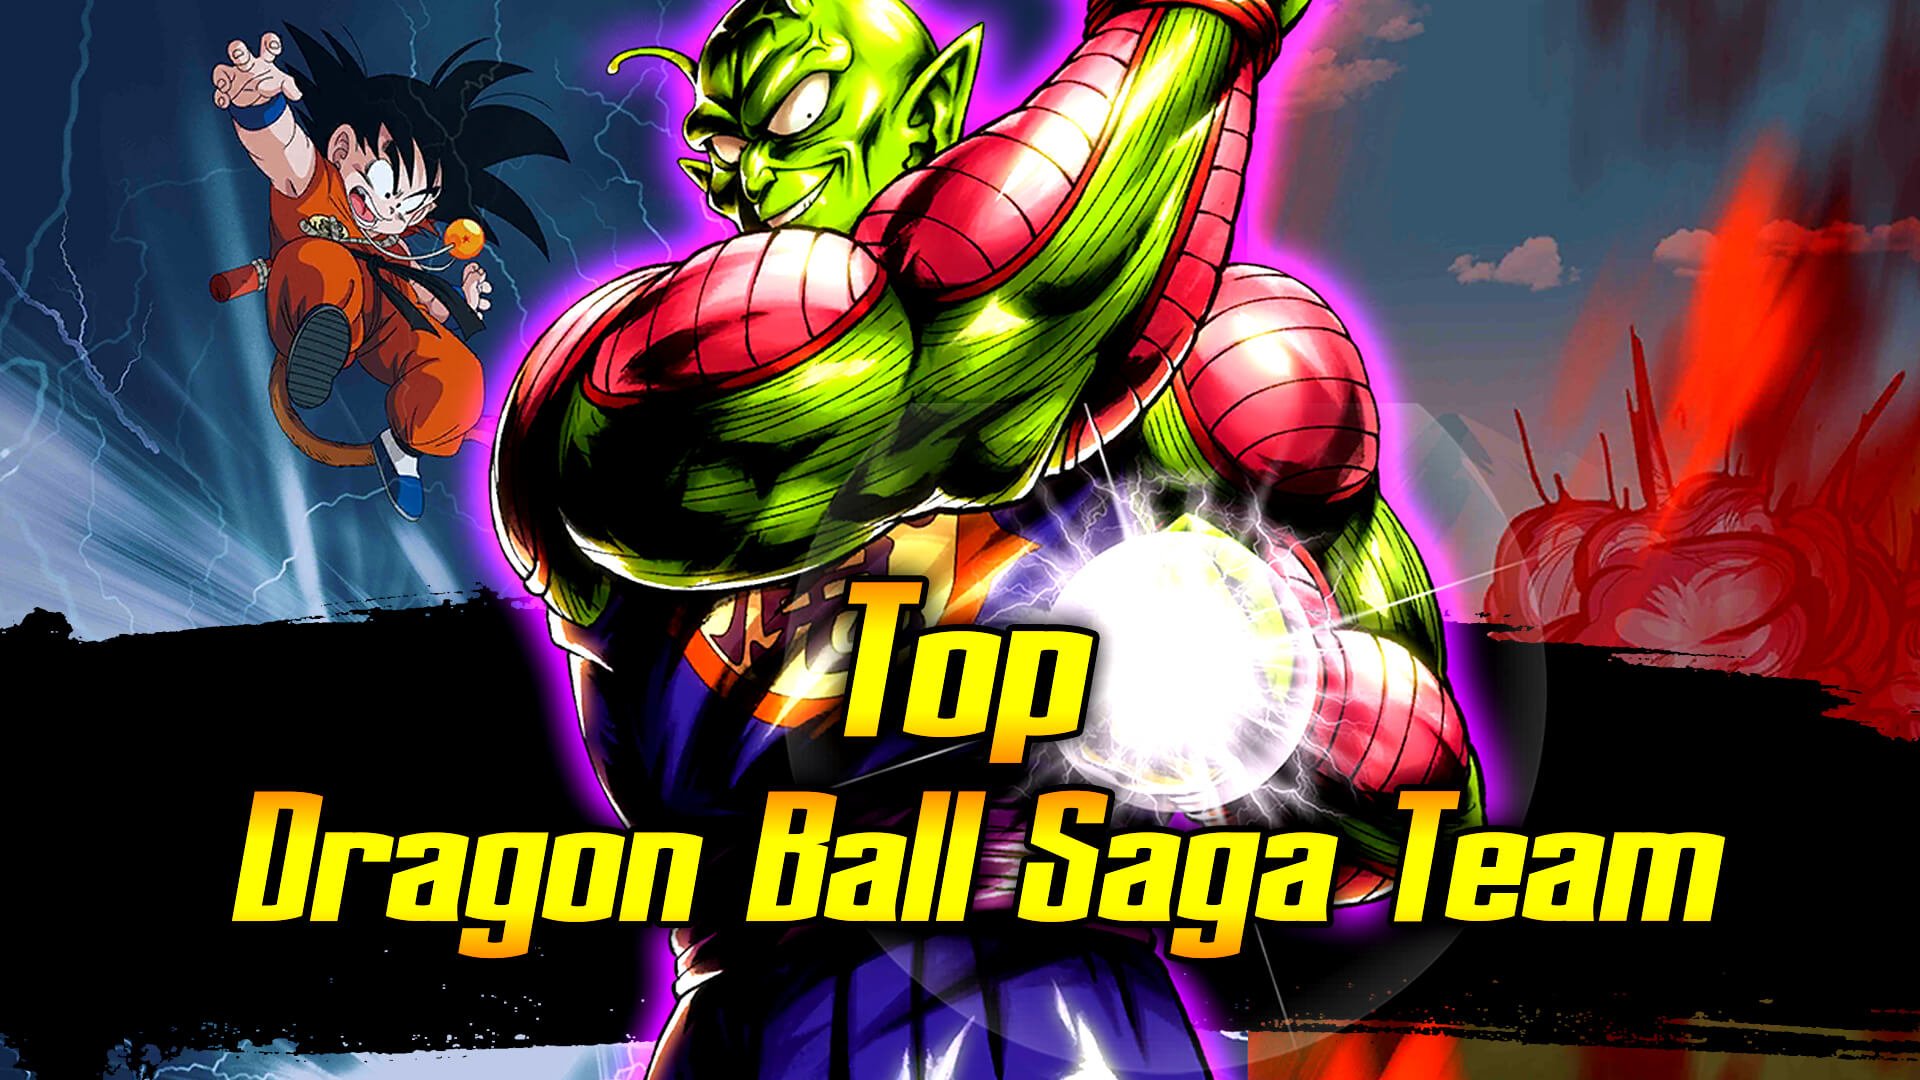
Dragon Ball Wackiness

Additionally, Youth Goku's Zenkai and Z Abilities are not applicable. Goku's Zenkai Ability Buffs the Legends Road Tag, of which he is the only decent member, and his Z-Ability only Buffs the Dragon Ball Saga Tag, of which...he is the only decent member.
When these Tags are further supported, Youth Goku will have a much greater impact synergistically, but for now, these Abilities are only relevant to himself.
Team Synergy
Yellow Color-Counter


Because Goku is the strongest Yellow Fighter in the Game, he's an instant inclusion on this Color Counter Team. Alongside key Fighters like SP Angry Goku BLU or SP Saiyan Saga Goku BLU (who can both Buff Zenkai 7 Youth Goku with their Z-Abilities), and SP Hit YEL, EX LSSJ Broly YEL, or SP SSJ Youth Gohan YEL, Goku can make a splash.
Goku's Mixed Arts Cards can be difficult to square on this Strike-oriented Tag, but despite them, he's still a fantastic addition to it.
Saiyan

Zenkai 7 SP Youth Goku YEL is the strongest Yellow Saiyan Fighter, and pairs brilliantly with this Tag's best. SP Saiyan Saga Goku BLU and SP Angry Goku BLU are both superb Blue Options that can each protect their younger self from enemy Reds.
Green Saiyans really appreciate Goku's presence, especially Offensive or Support Fighters, like SP SSJ3 Goku GRN or SP Baby Vegeta GRN. The Support Baby Vegeta can provide is interesting for Kid Goku, whose personal Damage is already incredible. Even SP Raditz GRN can see usage here, and his unique utility makes him useful in the mirror match or the Regeneration match-up.
Depending on the match-up, SP SSJ4 Goku PUR or SP Bardock RED can be brought into combat. Both of them adore having Ki and Damage Support from Kid Goku. This is especially helpful for HE Shallot LGT, whose unique ability to deal neutral Damage against every other typing makes him a key ally for Kid Goku.
Son Family

Zenkai 7 Youth Goku YEL is just as effective here as he is on the Saiyan Tag Team.
When fielded alongside SP SSJ4 Goku PUR and SP Saiyan Saga Goku BLU or SP Angry Goku BLU, he can attack, defend, and support better than the vast majority of the game's roster. Saiyan Saga and Super Saiyan 4 Goku especially are excellent comrades for the multi-faceted Zenkai Saiyan.
SP Goku GRN and SP SSJ3 Goku GRN are significantly helped by Kid Goku, just as they are on the Saiyan Team. SP Kakarot Goku RED is this Team's strongest Red Fighter, and his Z-Ability is fantastic for its bulk.
This Tag is afforded the unique right of being able to take advantage of Saiyan and Son Family bench options. SP Kaioken Goku BLU, SP Otherworld SSJ Goku YEL, and EX Raditz BLU all possess fantastic Z-Abilities that can make this Team much more well rounded.
Teams Featured In
Parent ID: 113256
Parent ID: 147881
Parent ID: 149766

Equippable Items
Battle of Saiyans

|
Type | Gold |
|---|---|---|
| Equip Condition | Saiyan | |
| Sale Price | 800 |
- Slot 1
- Slot 2
- Slot 3

Base Strike Defense UP
|
10% - 18% |
|---|
|
To Strike Defense for 15 timer counts when faced with Saiyan. Up
|
4% - 10% |
|---|

Base Health UP
|
4% - 10% |
|---|
This Equip is a must-have, significantly increasing Kid Goku's survivability.
It's All You, Gohan!
|
Type | Gold |
|---|---|---|
| Equip Condition | Son Family | |
| Sale Price | 30000 |
- Slot 1
- Slot 2
- Slot 3
|
Base Strike Defense UP
|
6% - 13% |
|---|

Base Blast Defense UP
|
6% - 15% |
|---|

To Strike Attack for each Tag: Son Family battle member. Up
|
2% - 5% |
|---|
Providing Kid Goku with a very large Pure Strike Buff makes this Equip a no-brainer. Please note for the optimal Saiyans Team, Mind Your Own Business, Tin Men! takes this Equip's place.
This is the Kaioken
|
Type | Gold |
|---|---|---|
| Equip Condition | Melee Type | |
| Sale Price | 30000 |
- Slot 1
- Slot 2
- Slot 3
|
Base Strike Defense UP
|
6% - 15% |
|---|

Base Strike Attack UP
|
5% - 12.5% |
|---|
|
Base Strike Attack UP
|
5% - 18% |
|---|
Goku's fantastic Strike Damage makes this Equip's application a no-brainer.
Main Ability
| I'll Give It My All! |
|---|
Draw the Ultimate Arts Card "Blast Through!!" next. Requirements: 25 timer counts must elapse. |
Unique Ability
| Rage: Strike Atk UP |
|---|
+15% to Strike damage inflicted per defeated battle member. |
| Team (2 Allies): Ki Recovery UP |
+20% to own Ki Recovery when 3 battle members are left. |
| Rage: Strike Atk UP |
+25% to Strike damage inflicted per defeated battle member. |
Z Ability
|
+20% to "Episode: Dragon Ball Saga" or "Tag: Legends Road" base Strike & Blast Defense during battle.
Character(s) Affected
|
|
|
+25% to "Episode: Dragon Ball Saga" or "Tag: Legends Road" base Strike & Blast Defense during battle.
Character(s) Affected
|
|
|
+30% to "Episode: Dragon Ball Saga" or "Tag: Legends Road" base Strike & Blast Defense during battle.
Character(s) Affected
|
|
|
+35% to "Episode: Dragon Ball Saga" or "Tag: Legends Road" base Strike & Blast Defense during battle.
Character(s) Affected
|


Special
|
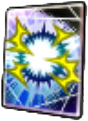 Kamehameha Kamehameha
|
|---|
Deals major Impact damage. Cost 50 |
Extra
|
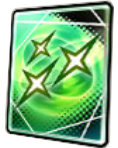 Obedient Cyclone Obedient Cyclone |
|---|
Repels enemy tap shots and Blast Arts and arrives at close range. [Arts with Pursuit] Cost 10 |
Ultimate Special
|
|
 Blast Through!! Blast Through!! |
|---|
Deals major Impact damage. Cost 20 |
Resistance
| Slice |
|
|---|---|
| Pierce |
|
| Impact |
|
| Explode |
|
Soul Boost Stats
| Stat | 100% | 200% | 300% | 400% | 500% | 600% | 698% |
|---|---|---|---|---|---|---|---|
| Health | 50916 | 108471 | 178142 | 260680 | 355436 | 468326 | 598065 |
| Strike Attack | 4354 | 9275 | 15243 | 22310 | 30418 | 40086 | 51203 |
| Blast Attack | 4271 | 9101 | 14945 | 21875 | 29823 | 39303 | 50194 |
| Strike Defense | 3592 | 7654 | 12576 | 18405 | 25103 | 33080 | 42249 |
| Blast Defense | 3520 | 7502 | 12321 | 18035 | 24596 | 32415 | 41406 |
| Critical | 156 | 344 | 628 | 942 | 1288 | 1650 | 2022 |
| Strike Art Level | 2 | 3 | 4 | 5 | 5 | 5 | 5 |
| Blast Art Level | 2 | 3 | 4 | 5 | 5 | 5 | 5 |
| Special Art Level | 1 | 1 | 2 | 2 | 2 | 2 | 2 |
| Extra Art Level | 1 | 1 | 2 | 2 | 2 | 2 | 2 |
| Ultimate Art Level | 1 | 1 | 2 | 2 | 2 | 2 | 2 |
| Equipment Slots | 1 | 2 | 2 | 2 | 3 | 3 | 3 |
Recommended Soul Boosts
 |  |  |  |  |
|---|---|---|---|---|