

Introduction
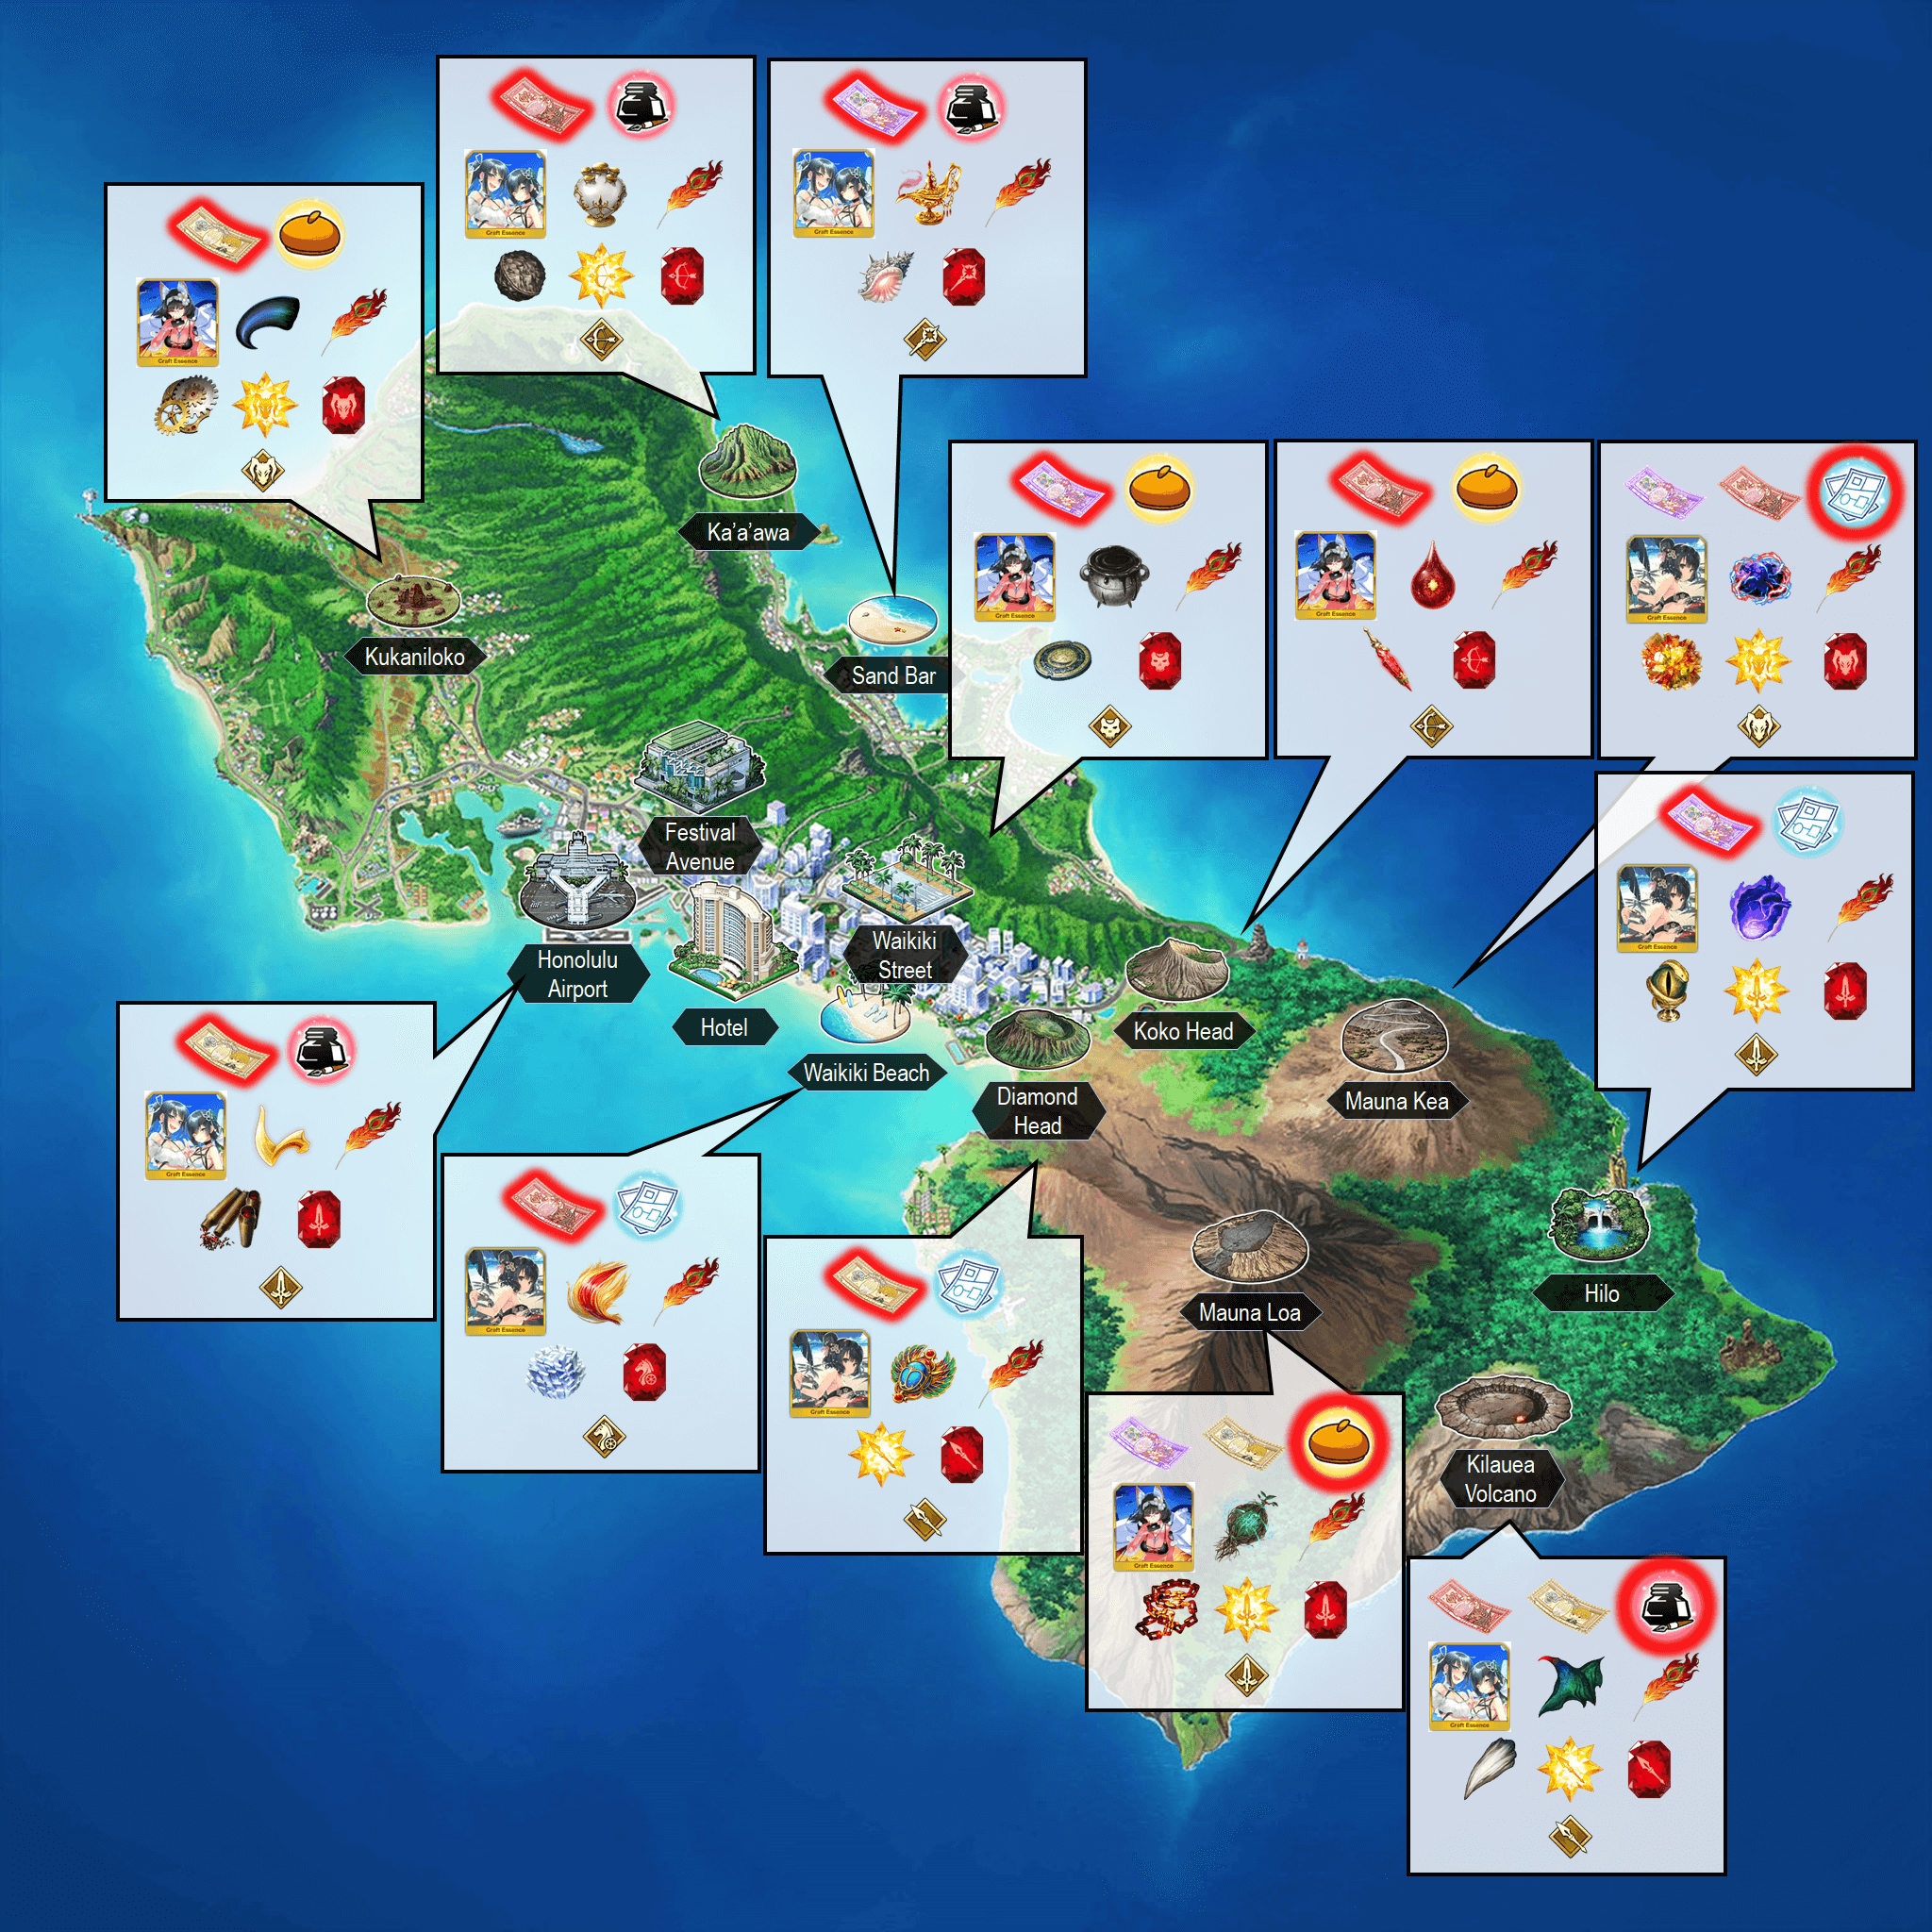
- All 9 Free Quest locations from Part 1 have the same drop rates, and simply drop different permutations of the three event currencies and event points (one of each).
- The three Free Quest locations that unlock during Part 2 (Mauna Loa, Mauna Kea, Kilauea Volcano) have generally better drop rates, particularly for Points. They also drop two of the three event currencies.
- The Part 1 Free Quests still end up better if the drop bonuses for a single currency is stacked. Part 2 Free Quests only end up better for currency if the currency drop bonus for the two currencies has a difference of 1 or less (for example, [Gil +2, BB +1] or [Gil +2, BB +2] bonus - Mauna Loa is a bit better, but [Gil +2, BB +0] bonus - Part 1 Gil Dollar Bill quests are better).
- Make sure to bring Event Bonus Servants (as many as can clear the quest comfortably) to maximize point gains when farming quests!
- The only source of currency bonus are Friend Point/Gacha CEs for this event, so generally prioritizing Supports with Gacha CEs is favorable, especially for F2P players who did not get Event Gacha CEs, since Point bonus CEs can still be accessed in the Event Shop.
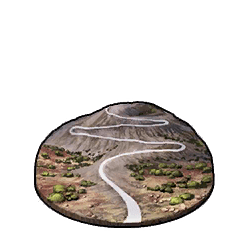
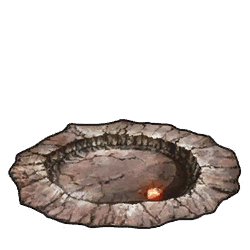
Drop Map
Free Quests At A Glance
| Quest | Unlock | Event Items | Enemy Class | CE / Material Drops | Bonus CE |
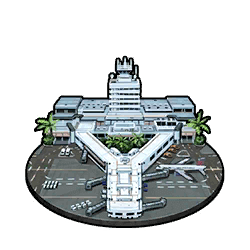 Honolulu Airport - Crunch Time | Section 2 | ||||
 Diamond Head - Crunch Time | Section 11 | ||||
 Kukaniloko - Crunch Time | Section 11 | ||||
 Ka'a'awa - Crunch Time | Section 11 | ||||
 Waikiki Beach - Crunch Time | Section 2 | ||||
 Koko Head - Crunch Time | Section 11 | ||||
 Sand Bar - Crunch Time | Section 11 | ||||
 Hilo - Crunch Time | Section 11 | ||||
 Waikiki Street - Crunch Time | Section 2 | ||||
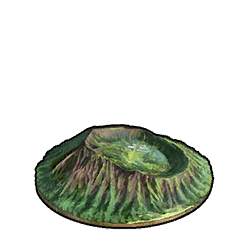
 Mauna Loa - Crunch Time | Sequel | ||||
 Mauna Kea - Crunch Time | Sequel | ||||
 Kilauea Volcano - Crunch Time | Sequel |
| Event Bonus | Class | Servants |
| Name | How to Obtain | Event Bonus |
Emerald Float 5★ | Event Gacha | |
Hero on the Beach 5★ | Event Gacha | |
Raging Wind 4★ | Event Gacha | |
Sunset Jam 4★ | Event Gacha | |
All-Night Fever 3★ | Event Gacha Friend Point Gacha | |
Writer's High 3★ | Event Gacha Friend Point Gacha | |
Painting Summer 5★ | Event Shop (x3) Event Points (x2) Quest Drop (Low chance) | |
Foxy Lady 5★ | Event Shop (x3) Event Points (x2) Quest Drop (Low chance) | |
Water Shine 5★ | Event Shop (x3) Event Points (x2) Quest Drop (Low chance) | |
The Melancholy of a Dramatic Demon 4★ | Publishing Quest | |
Little little bullet 4★ | Publishing Quest | |
Our Round Table 4★ | Publishing Quest | |
Curry x Rice 4★ | Publishing Quest | |
Martha's Built Upper 4★ | Publishing Quest | |
Giant Babbage 4★ | Publishing Quest | |
Mama's Ears 4★ | Publishing Quest | |
We Never Summon: Bokushou 4★ | Publishing Quest | |
Ms. Anastasia Loves Ramen Noodles 4★ | Publishing Quest | |
The Villainess Wants to Take Down the Wicked! 4★ | Publishing Quest | |
A Collection of Eiten-Style Teachings 4★ | Publishing Quest | |
The Magical Princess and the Monster of Krossvikki 4★ | Main Quest Clear |