Table of Contents
Character Stats
| Critical |
|
|---|---|
| Ki Restore Speed |
|
Character Info
| Battle Style | |
|---|---|
| Defense | |
| Arts Cards Held | |
| Tags | |


|
|
Overview
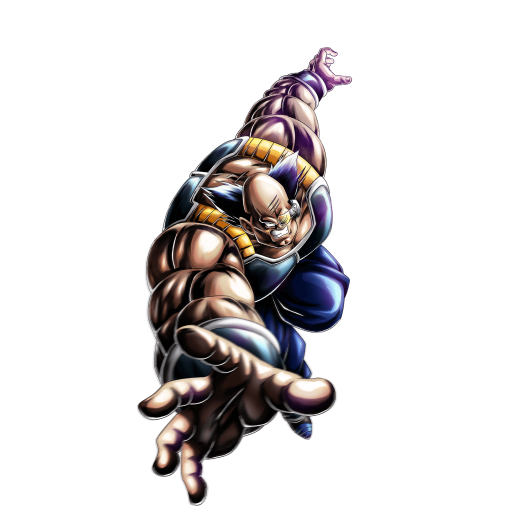
This massive Saiyan fills an unexpected role for the Team Bardock Team - he's its main Healer and Defender. While Borgos is primarily bringing Healing and Defense to the table, he's got some nifty Damage Support effects and can even deal solid Damage himself thanks to his Crisis utility.
EX Borgos GRN is a surprisingly versatile Fighter, though his Damage is middling in the early stages of a match. He makes up for it by providing Death Buffs while having Crisis utility himself. This thick Saiyan bruiser might not be much to look at, but he's an extremely powerful Fighter in his own right.
Strengths
The Rock of the Team

EX Borgos GRN provides some incredible Defensive power on Team Bardock Tag Teams. His Cover Change Sustained Damage Cut Buff halves his Damage taken when he defends Team Bardock comrades, and his high base Defensive Stats only add to his fortress-like physique.
His Teammates also rely on him for healing - the gluttonous Saiyan's Main Ability Heals his Team Bardock partners' health by 15%, and his own by 25%, giving him very high overall bulk. His Extra Arts Card cures those same allies of their Abnormal Conditions and Attribute Downgrades, making him a key Defensive pivot.
Crisis Potential

EX Borgos GRN's true power is unleased when one of his Allies falls. When this occurs, he receives a permanent +40% Inflicted Damage Buff that allows him to dish out serious pain.
If Borgos falls in battle instead of an ally, he lends his remaining Teammates power with an instant 20% Heal, a +50% Ki Recovery Buff, and a +20% Damage Inflicted Buff for all Team Bardock friends.
Borgos' Crisis flexibility is what lets him work so well on his Teams.
Weaknesses
Low Early Damage
Prior to his Crisis Buffs kicking in, EX Borgos GRN is not a very powerful Fighter Damage-wise. His Extra Arts, Special Move Arts, and his Main Ability each give him meager Buffs to Strike Damage, but they're not reliable enough to redeem his poor Offensive Stats.
Substitution Distribution
EX Borgos GRN increases his Substitution Count by 3 when his Cover activates, meaning reliance on his Cover-change utility slows the pace of the Team over time. In situations where only two Fighters remain, Borgos' Substitution issues are supremely annoying.
Team Synergy
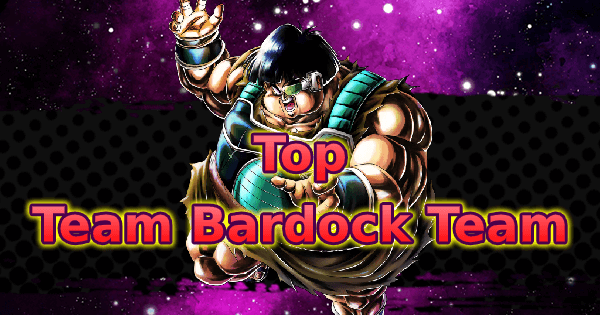
Team Bardock

The Team Bardock Team is where Borgos belongs. With his trusted partner, EX Shugesh YEL, and his boss, SP Bardock RED, Borgos is able to spread some true havoc.
Borgos functions as the Team's dedicated Defensive Fighter, but his Support and Healing are what truly make him exceptional on this Tag. After he and Shugesh fall, Bardock is capable of jaw-dropping Damage numbers.
Teams Featured In
Parent ID: 142666
Equippable Items
Awakened You'll Pay! No. 1
|
Type | Gold |
|---|---|---|
| Equip Condition | Saiyan, Green | |
| Sale Price | 30000 |
- Slot 1
- Slot 2
- Slot 3

Base Strike Attack UP
|
10% - 25% |
|---|

Base Blast Defense UP
|
10% - 18% |
|---|

Base Ki Restore Speed UP
|
6% - 10% |
|---|
This fantastic Strike Damage equip also provides Defense and Ki Recovery to the largest Saiyan around.
Darn Androids...

|
Type | Gold |
|---|---|---|
| Equip Condition | EXTREME, Green | |
| Sale Price | 30000 |
- Slot 1
- Slot 2
- Slot 3

Base Strike Defense UP
|
5% - 25% |
|---|---|
|
Base Blast Defense UP
|
5% - 25% |
|
Base Strike Attack UP
|
6% - 25% |
|---|---|

Base Blast Attack UP
|
6% - 25% |

Base Health UP
|
5% - 12% |
|---|
This multi-purpose, EX-exclusive Equip is a mandatory prerequisite for all Extreme Green Fighters.
This Should Be Fun!
|
Type | Gold |
|---|---|---|
| Equip Condition | Android #17, Saiyan | |
| Sale Price | 30000 |
- Slot 1
- Slot 2
- Slot 3
|
Base Blast Attack UP
|
6% - 15% |
|---|
|
Base Health UP
|
5% - 12.5% |
|---|

Damage to Hybrid Saiyan UP
|
6% - 15% |
|---|
While Borgos uses his Strike Attack more than his Blast, this Equip's Buff to Health is too valuable to pass up for a Defensive Fighter like him.
Main Ability
| Glutton |
|---|
+20% to damage inflicted for 20 timer counts. Requirements: 10 timer counts must elapse. |
Unique Ability
| Desperate Cry |
|---|
+40% to damage inflicted when at least one ally is defeated. Applies the following effects to allies when this character is defeated: Restores health by 20%. |
| Giant Saiyan |
Reduces damage received by 40% until combo ends when changing cover. Reduces damage received by 10% when this character enters the battlefield if a "Tag: Team Bardock" other than this character is a battle member (cannot be stacked). |
Z Ability
|
+20% to "Tag: Saiyan" base Blast Defense during battle.
Character(s) Affected
|
|
|
+22% to "Tag: Saiyan" base Blast Defense
Character(s) Affected
|
|
| +20% to "Tag: Team Bardock" base Blast Attack Character(s) Affected | |
|
+26% to "Tag: Saiyan" base Blast Defense
Character(s) Affected
|
|
| +25% to "Tag: Team Bardock" base Blast Attack Character(s) Affected | |
|
+28% to "Tag: Saiyan" base Blast Defense
Character(s) Affected
|
|
| +28% to "Tag: Team Bardock" base Blast Attack Character(s) Affected |


Special
|
 Angry Launcher
Can Teach Angry Launcher
Can Teach
|
|---|
Deals major Impact damage. Cost 50 |
Extra
|
 Unlock Ki: Form of Attack Unlock Ki: Form of Attack |
|---|
+20% to Strike damage inflicted for 15 timer counts. Cost 10 |
Resistance
| Slice |
|
|---|---|
| Pierce |
|
| Impact |
|
| Explode |
|
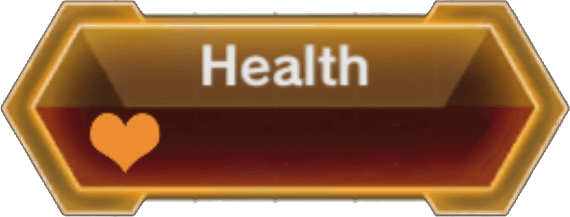
Soul Boost Stats
| Stat | 100% | 200% | 300% | 400% | 500% | 600% | 698% |
|---|---|---|---|---|---|---|---|
| Health | 19280 | 39928 | 70500 | 108808 | 157128 | 219324 | 291112 |
| Strike Attack | 1662 | 3444 | 6084 | 9398 | 13574 | 18950 | 25158 |
| Blast Attack | 1634 | 3381 | 5970 | 9217 | 13309 | 18577 | 24658 |
| Strike Defense | 1383 | 2869 | 5067 | 7823 | 11299 | 15778 | 20946 |
| Blast Defense | 1359 | 2813 | 4972 | 7672 | 11081 | 15471 | 20539 |
| Critical | 146 | 322 | 586 | 878 | 1200 | 1536 | 1882 |
| Strike Art Level | 2 | 3 | 4 | 5 | 5 | 5 | 5 |
| Blast Art Level | 2 | 3 | 4 | 5 | 5 | 5 | 5 |
| Special Art Level | 1 | 1 | 2 | 2 | 2 | 2 | 2 |
| Extra Art Level | 1 | 1 | 2 | 2 | 2 | 2 | 2 |
| Equipment Slots | 1 | 2 | 2 | 2 | 3 | 3 | 3 |
Recommended Soul Boosts
 |  |  |  |  |
|---|---|---|---|---|